



The most common outdoor lighting mistake is easy to recognize: the installer adds more wattage to compensate for poor placement. The result is a roof full of bright points, direct glare across the dining table, uneven shadows, and a product line that becomes difficult to specify consistently.
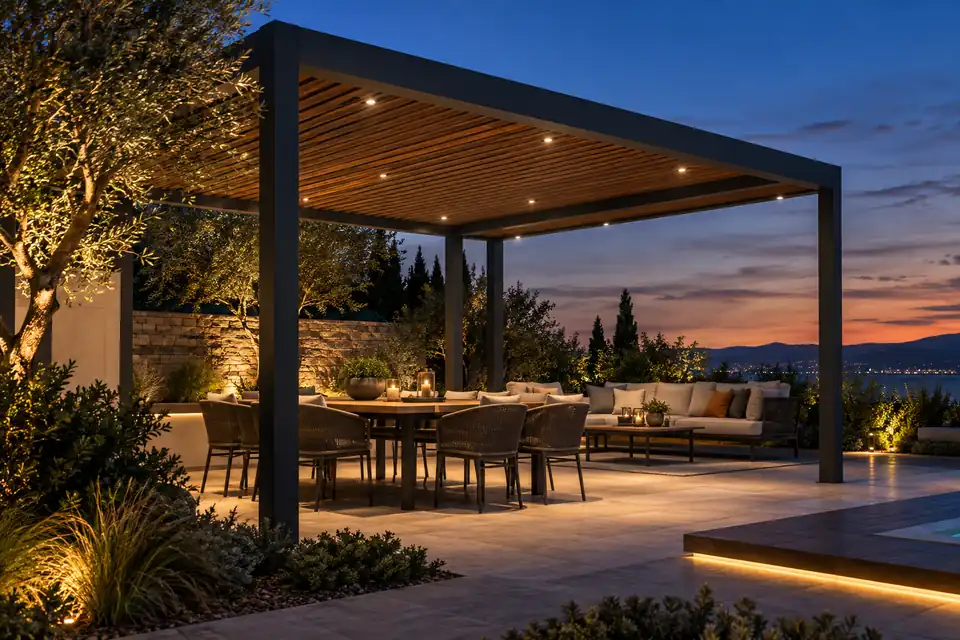
Our position is straightforward. In a pergola or gazebo, mini LED spotlights work best when the source is recessed or well concealed, the beam is aimed at a surface or task zone rather than at people, and the low-voltage system is planned before the final kit is packed. A 1W, 3W, or 6W fixture can all be correct; the right choice depends on mounting height, beam angle, surface reflectance, spacing, and the role of the light in the overall scheme.
This guide explains how to make those decisions for repeatable residential, hospitality, and commercial projects. It also shows where product and kit specifications need to become more precise if you are developing a private-label range or buying for multiple installations.
Start with the lighting layer, not the fixture count
The first decision is what the light must do. Pergola and gazebo projects usually need a combination of ambient light, task light, architectural accent, and low-level safety light. One fixture type rarely performs all four jobs equally well.
| Lighting layer | Typical target | Mini spotlight approach |
|---|---|---|
| Ambient | Make the seating or dining area usable without a harsh ceiling glow. | Several low-output, wide or diffused downlights distributed across the structure. |
| Task | Provide useful light over a dining table, bar, grill, or preparation surface. | Controlled downlights positioned over the working zone and dimmed independently. |
| Architectural accent | Reveal beams, posts, slats, stone, timber, or planting. | Narrower, directional spotlights aimed at the feature, never into seating sightlines. |
| Safety and orientation | Make steps, edges, and transitions readable. | Use dedicated step-light components within a matched LED light kit or carefully shielded low-level fixtures. |
This layered approach is consistent with the Five Principles for Responsible Outdoor Lighting: light should be useful, targeted, low in intensity, controlled, and warm in tone where appropriate. The practical implication for a manufacturer is important: do not build a kit around a headline lumen figure. Build it around a defined use case.
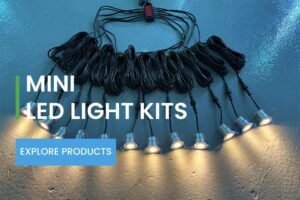
VLED develops mini LED light kits as complete sets because the lamp, driver, splitter, cable, control method, and installation accessories affect the result together. That system view is especially useful for pergola brands that need installers in different markets to achieve a similar result from the same SKU.
Where should mini LED spotlights be placed in a pergola?
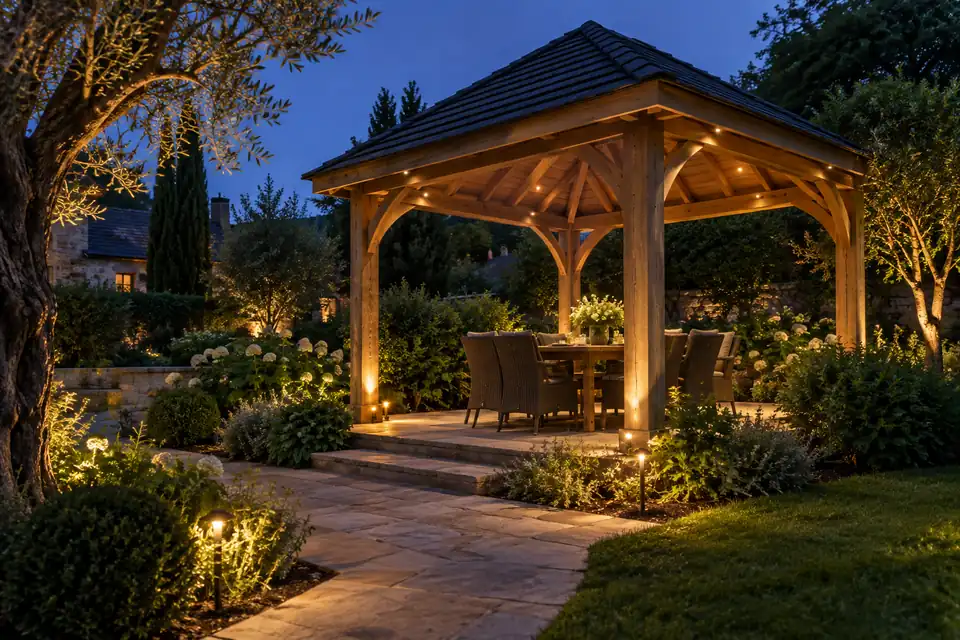
For most pergolas, the strongest starting point is to place downlights in the underside of the primary beams or rafters, away from the direct line of sight of seated users. Accent fixtures can be placed closer to posts or at the base of architectural elements, but they should be aimed across or up a surface rather than directly toward the patio.
1. Over dining and task zones
Place task lights over the area where people actually need visual clarity, not automatically at the geometric center of the roof. A dining table may require an even pattern along its length. A bar or outdoor kitchen may need a separate circuit so its light can remain functional while the general ambience is dimmed.
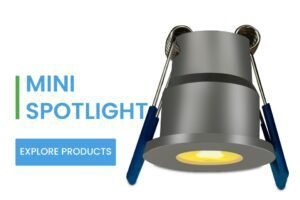
Recessed mini spotlights are useful here because the trim can sit close to the beam surface. VLED’s DELUXE 3W DC24V IP65 mini spotlight kit, for example, is specified with a 28 mm cutout, dimming, multiple beam-angle options, and 3–12 light kit quantities. Those details give a project buyer more control than simply choosing a bright lamp and hoping the spacing works.
2. Along the perimeter beams
Perimeter placement can make a pergola feel enclosed, but it is also a common source of glare. If a fixture is mounted near the edge of a beam and aimed inward at eye level, every person sitting opposite may see the LED or a bright lens. Use a recessed trim, a frosted or honeycomb lens where suitable, a deeper recess, or a mounting position that keeps the source behind the beam line.
The goal is not to create a ring of bright dots. The goal is to create a quiet boundary of light on the table, floor, curtains, or nearby planting. When the perimeter is the architectural focus, consider combining discrete spotlights with a concealed COB LED strip so the beam points provide accents and the strip provides a continuous, softer line.
3. At posts and structural details
Post lighting should reveal texture and form. A small fixture at the base of a timber post can graze the grain or climbing plant. A fixture mounted high on the post can wash the patio or frame, provided the lens is shielded from nearby seating. On a gazebo, the same logic applies to the roof supports and central structure: aim at the material, not at the people under it.
Use the outdoor mini LED spotlight selection guide when the light is exposed to rain, splash, soil, or landscape maintenance. The fixture’s IP rating is only one part of the decision; cable entries, connectors, driver location, and drainage around the installation also matter.
4. On the roof apex of a gazebo
A tall gazebo roof creates distance between the fixture and the target plane. A narrow beam can become attractive architectural emphasis, while a wide beam may spread too thinly to deliver useful light. If the fixture is close to the apex, test the beam on the table and floor at night. If the fixture is visible from below, prioritize shielding and visual comfort over maximum output.
Glare control: the specification details that actually matter
Glare is not solved by lowering wattage alone. A low-wattage LED can still be uncomfortable if the luminous surface is visible from normal seating positions. Effective glare control is a combination of source concealment, optical distribution, aiming, surface brightness, and dimming.
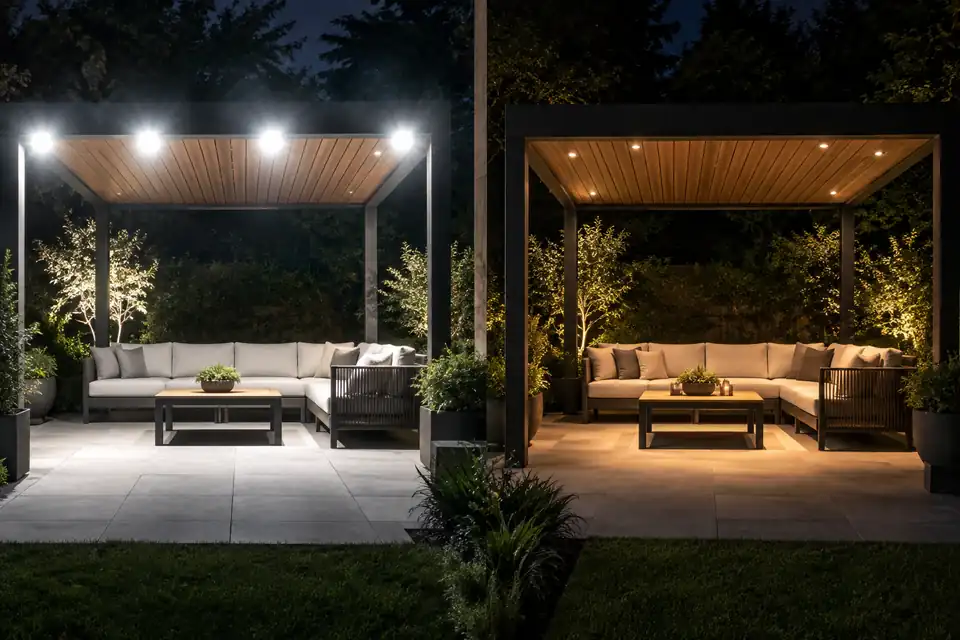
The U.S. National Park Service’s outdoor lighting guidance favors fixtures that are shielded or recessed and direct light only where it is needed. For pergolas and gazebos, that principle translates into five practical checks:
- Check the view from the chair. Sit at the normal eye height and inspect every fixture from the main seating angles.
- Hide the high-luminance source. Recess the optic, use an appropriate baffle or lens, and avoid exposed clear points directly above faces.
- Choose the beam for the target. A narrow beam can work for a post or beam accent; a broad or diffused distribution is usually more comfortable for general light.
- Use aiming to protect sightlines. Tilt the fixture toward the wall, beam, or tabletop rather than across the occupants’ eye line.
- Dim during commissioning. The correct night-time setting is often lower than the maximum available output, particularly when the surrounding garden is dark.
Optical data should be part of the buying conversation. VLED product specifications can include beam angles from 5 to 120 degrees, transparent, frosted, beaded, stripe, honeycomb, and half-frosted lens options, as well as dimming and custom finish choices. That range is not a reason to offer every combination as a stock SKU. It is a reason to match a controlled set of optical options to defined applications.
For a deeper comparison of mounting consequences, see recessed versus surface-mounted mini LED spotlights. Recessed mounting generally gives a cleaner architectural result and better source concealment, while surface mounting can simplify retrofit work where the structure cannot accept a precise cutout.
Beam angle and spacing: avoid the “one size fits all” layout
Beam angle should be selected from the distance to the target and the visual effect required. A narrow beam concentrates intensity into a smaller area; a wider beam spreads light over more of the target but may reduce contrast and create spill. The right answer is not a universal angle. It is the angle that produces the intended pattern at the actual mounting height.
| Application | Starting optical direction | What to verify on site |
|---|---|---|
| Beam or post accent | Narrow or medium beam, aimed obliquely to graze the material. | Texture, hot spots, shadow shape, and visibility of the source. |
| Dining or lounge zone | Medium to wide beam, diffused where people are close to the fixture. | Uniformity on the table, facial comfort, and shadowing from roof slats. |
| High gazebo apex | Selected according to roof height and target diameter. | Useful light at the seating plane, not just brightness near the apex. |
| Planting or landscape feature | Narrow beam for a vertical feature; wider beam for a broad planting mass. | Spill into neighboring properties, foliage movement, and maintenance access. |
Do not use spacing rules copied from an indoor ceiling without checking the pergola geometry. Open rafters interrupt the beam, dark timber absorbs light, pale aluminum reflects more, and a retractable canopy changes the visual environment completely. A manufacturer should therefore provide beam-angle data, cutout dimensions, mounting depth, and optical test information—not only a product photograph.
Our mini LED spotlight beam-angle guide is a useful companion when a buyer is building a range for pathways, trees, walls, and architectural features. The same optical discipline applies to pergolas: define the target first, then choose the beam.
Low-voltage planning: size the system before you finalize the kit
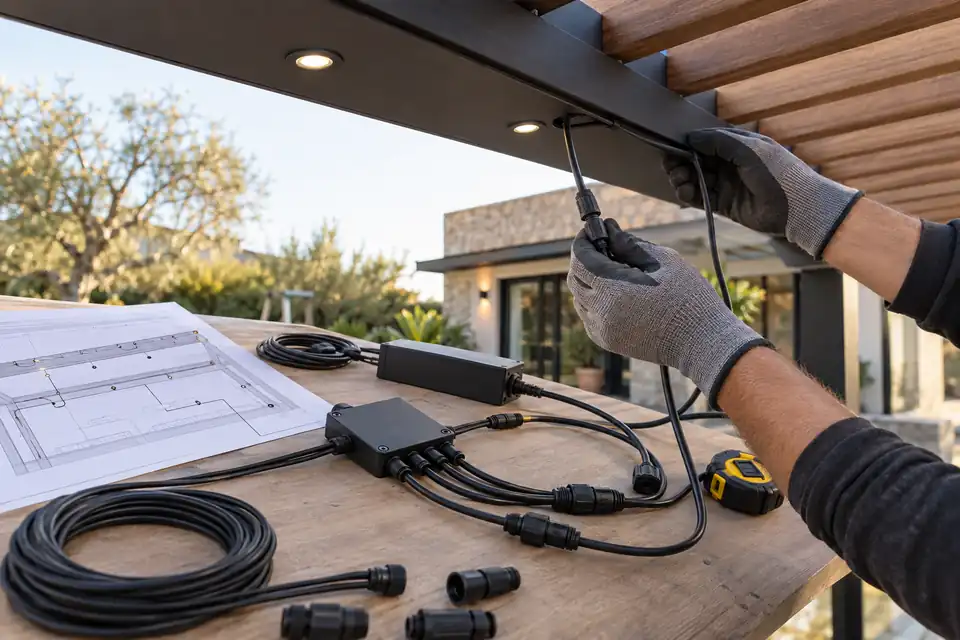
Low voltage makes many pergola installations easier to route, but it does not remove the need for electrical planning. The designer or installer still needs to account for total load, cable length, conductor size, voltage drop, driver capacity, dimming compatibility, connector exposure, and service access.
Calculate load with useful margin
Start with the basic load calculation:
Total connected load = fixture wattage × fixture quantity
Then select a compatible driver or power supply with appropriate capacity for the installation and the control method. For example, a 12-light kit using 3W fixtures has a nominal lamp load of 36W before any system-specific allowances. The final driver choice should follow the supplier’s wiring diagram and the requirements of the dimmer or smart controller. Do not treat the driver as an afterthought hidden in the packaging department.
VLED’s kit specifications distinguish between 24W and 48W adaptors for different light quantities and include splitters, extension cords, and remote or smart control options. That packaging logic helps buyers order a usable system, but the final configuration must still be checked against the project cable route and local electrical requirements.
Plan for voltage drop and cable routing
Voltage drop becomes more relevant as cable runs lengthen and current increases. Symptoms may include reduced output, uneven brightness, unstable dimming, or visible differences between the first and last fixtures on a run. The remedy depends on the system: shorten the run, increase conductor size, divide the circuit, use parallel branches, reposition the driver, or select a voltage and driver architecture suited to the installation.
For a pergola program, draw the actual route before approving the kit contents. Mark the driver location, splitter position, branch lengths, beam penetrations, connector exposure, and service access. The OEM mini LED spotlight specification checklist is useful for turning those decisions into a repeatable RFQ rather than leaving them to informal messages between buyer and supplier.
Protect the weak points in the chain
An IP65 lamp head does not automatically make an entire outdoor kit IP65. Water can enter at cable exits, connectors, splitters, junctions, or poorly protected driver locations. The system needs a coherent exposure plan, including drip loops where needed, protected connections, suitable cable jackets, and installation instructions that match the product’s intended environment.
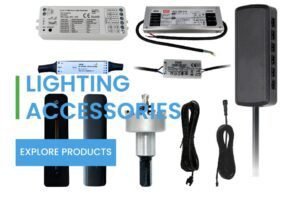
For a manufacturer or importer, this is also a warranty issue. Specify the lamp, driver, extension cable, splitter, and connector as one system. The accessories range should be treated as part of the engineered product, not as an unconnected list of add-ons.
12V or 24V: which low-voltage architecture is better?
Neither 12V nor 24V is universally better. The choice should follow the fixture design, run length, total load, controller compatibility, market requirements, and the type of kit being sold.
| Decision factor | 12V considerations | 24V considerations |
|---|---|---|
| Small decorative systems | Can suit compact, low-load installations and familiar landscape-lighting ecosystems. | Can still work well when the kit and controller are designed around 24V. |
| Longer runs | Needs careful attention to current and voltage drop. | Often offers more favorable current behavior for equivalent power, but still requires calculation. |
| Product platform | Useful when the brand already stocks 12V drivers and controls. | Useful when pergola, strip, spotlight, and smart-control products share a 24V platform. |
| Specification risk | Do not mix components without checking dimming and connector compatibility. | Do not assume a 24V fixture can use any 24V supply or controller. |
VLED offers mini spotlight options in low-voltage DC configurations including 12V, 24V, and selected 3V designs. For wholesale and OEM buyers, the important question is not which number sounds more advanced. It is whether the voltage architecture can be standardized across the light, driver, wiring, dimming, control, replacement, and documentation.
Color temperature and controls should support the use case
Warm white is usually the safest base option for residential pergolas, gardens, decks, and hospitality seating because it supports a relaxed outdoor atmosphere. Neutral white can make sense for modern architecture, commercial projects, or task-oriented zones. RGBW is more useful than RGB when a project needs colored scenes but still requires a credible white-light mode.
The key commercial issue is SKU control. A distributor should not stock every color temperature, beam angle, finish, voltage, cable length, and control method in every housing. A more resilient product ladder uses a core warm-white SKU, a neutral-white or dynamic-white option, and a project-level RGBW upgrade where demand justifies it. Read the mini spotlight SKU planning guide for a broader stocking framework.
Dimming is particularly valuable in pergola lighting because the required level changes between dinner, conversation, cleaning, and late-night ambience. RF remote control can be practical for straightforward kits. Smart app control can add grouping, scheduling, and scene control when the end product needs a connected experience. Whatever the control method, test it with the selected driver and load rather than approving the controller separately.
What brands and project buyers should ask a manufacturer
A professional quotation request should describe the application before asking for a unit price. Give the supplier a drawing or simple layout showing beam dimensions, target zones, mounting positions, cable routes, driver location, preferred finish, and expected quantity. Then ask for:
- Fixture wattage, voltage, lumen output, CRI, CCT, beam-angle tolerance, and lens options.
- Housing diameter, body depth, cutout size, mounting method, and cable-exit position.
- Outdoor protection details for the fixture, cable, connector, splitter, and driver.
- Driver capacity, maximum recommended fixture quantity, wiring diagram, dimming method, and control compatibility.
- Standard cable lengths, extension options, polarity logic, and replacement procedure.
- Finish samples, custom RAL capability where relevant, packaging configuration, and labeling.
- Applicable compliance documentation for the intended market and project.
VLED has focused on small LED spotlights, mini downlights, light kits, and related accessories since 2010. The company combines product design and manufacturing, supports OEM/ODM and NDA programs, and lists experience with pergola, veranda, soffit, awning, deck, patio, and landscape applications. Its factory and design capability page explains how R&D, customization, manufacturing, and international supply are connected.
That capability matters when a pergola brand needs more than a sample. The repeat-order risk usually sits in the details: a cutout that changed, a black finish that no longer matches the frame, a connector that does not fit the new cable, a driver that cannot dim the revised load, or a kit insert that confuses the installer. Those are specification and process problems, not just lighting problems.
A commissioning checklist for the finished pergola or gazebo
Before the installation is signed off, inspect the system at night and at the intended operating levels. A daytime check cannot reveal the most important comfort issues.
- Confirm that the fixture count, voltage, driver, splitter, cable lengths, and controller match the approved drawing.
- Walk through the space from standing and seated positions. Note every visible lens or exposed bright point.
- Check the table, bar, grill, steps, and circulation zones for useful light rather than simply high brightness.
- Run the system at maximum and minimum dimming levels. Look for flicker, uneven output, or control instability.
- Inspect cable routing, connector protection, drainage, and access to the driver and serviceable parts.
- Photograph the final aiming positions and save the wiring diagram with the project record.
If the final result feels too bright, first reduce output and correct aiming before adding diffusers or changing the entire product. If it feels too dark, identify whether the problem is target selection, beam spread, spacing, surface reflectance, or voltage performance. Increasing wattage should be the last decision, not the first.
FAQ
How many mini LED spotlights does a pergola need?
There is no reliable universal fixture count. Start with the pergola dimensions, roof structure, seating and task zones, mounting height, beam angle, and desired light level. A professional kit should be specified from a layout and then validated at night. More fixtures are not automatically better if they create repeated glare points.
Are mini LED spotlights suitable for outdoor gazebos?
They can be suitable when the fixture and complete low-voltage system are designed for the exposure. Check the fixture IP rating, cable entry, connector and splitter protection, driver location, drainage, and installation orientation. Protected roof-mounted use and exposed landscape use should not be treated as the same environment.
What beam angle is best for pergola lighting?
The best beam angle depends on the distance and target. Narrow beams can accent posts, beams, and planting; wider or diffused beams are generally more comfortable for seating and dining areas. Always test the beam at night because roof slats, dark materials, and reflective surfaces can change the result.
Is 24V better than 12V for pergola lighting?
Not automatically. Both can work when the driver, cable, connector, controller, and fixture are designed as a matched system. Compare total load, run length, voltage drop, existing product platforms, local requirements, and replacement logistics before selecting the architecture.
How can a brand reduce glare complaints?
Specify source concealment, suitable beam angles, lens or baffle options, dimming, and clear aiming instructions. Validate the design from normal seating positions, not only from the installer’s viewpoint. For a repeatable product range, document the recommended mounting position and application for each optical SKU.
Plan the lighting system before you order the fixtures
For a pergola or gazebo program, send the structure dimensions, lighting zones, preferred voltage, cable route, finish, control method, and target market to VLED. The engineering team can help match mini LED spotlights, drivers, splitters, cables, controls, and kit packaging to the application.
Contact VLED for a project or OEM lighting discussion, or review the mini LED spotlight range и complete light kit options before preparing your RFQ.
Пингбэк: Mini Spotlight Housing Materials: Stainless Steel, Aluminum, Brass, and Plastic Compared - miniledspotlight.com