



Key Takeaways
- An IP rating describes a tested enclosure condition, not every cut end, splice, cable exit, or field connector.
- Heat accelerates LED, seal, adhesive, and driver aging at the same time.
- Backing tape should position an outdoor strip, not carry the full mechanical load for its service life.
- The best purchasing specification controls the complete strip system and its interfaces.
An outdoor LED strip can pass incoming inspection, light perfectly during commissioning, and still fail after the first hard season. That pattern leads many buyers to blame the diode, the waterproof jacket, or the installer. The more useful answer is less convenient: the product and the installation were treated as separate purchases when they should have been engineered as one system.
A strip body, end cap, lead wire, connector, driver, adhesive, aluminum profile, substrate, drainage path, and control method all share the same environment. One weak interface changes the load on the others. A sagging strip creates a water pocket. Heat softens the adhesive. A loose connector adds resistance and local heat. Water reaches copper, corrosion increases resistance, and the cycle accelerates.
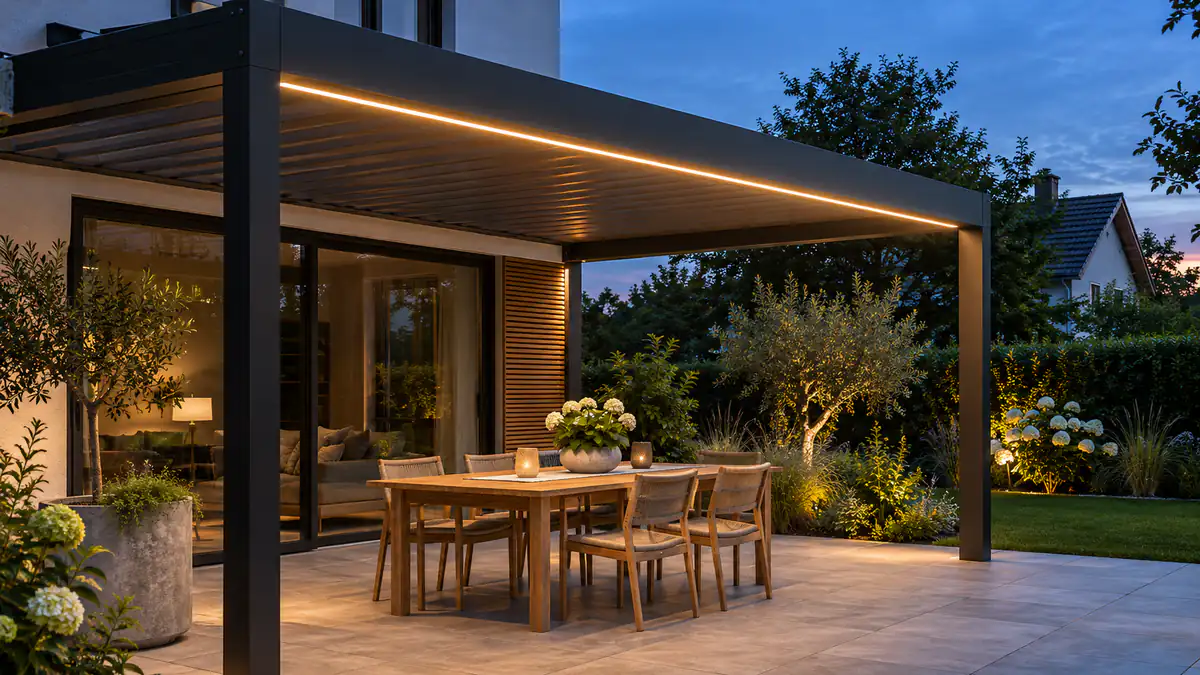
This is why outdoor reliability cannot be approved from an IP label and a reel sample alone. Brands, pergola manufacturers, landscape lighting suppliers, importers, and project contractors need a failure-chain specification. VLED applies the same system view in its outdoor LED strip manufacturer guide: approve the strip construction, electrical architecture, connectors, mounting method, thermal path, and service plan together.
Why is outdoor LED strip failure a system problem?
The LED package is often not the first part to fail. The U.S. Department of Energy notes that a long-lived LED leaves plenty of time for electronics to fail first, and that color shift can make a product unacceptable before the diode stops emitting light. Its luminaire lifetime guidance also identifies temperature, humidity, current, UV exposure, and electrical stress as interacting reliability factors.
That matters because the marketed lifetime of an LED package is not the service life of a pergola or landscape lighting installation. Package data cannot predict a field-cut end, a connector trapped in a wet beam, or an adhesive bond on powder-coated aluminum. The weakest uncontrolled interface sets the real maintenance interval.
| First weakness | What it causes next | Typical field symptom |
|---|---|---|
| Open or poorly sealed end | Moisture reaches pads and copper traces | Flicker, dark segments, green or white corrosion residue |
| Poor thermal contact | Higher strip temperature ages LEDs, coatings, tape, and solder joints | Yellowing, color shift, dimming, intermittent shutdown |
| Adhesive release | The strip sags, twists, or pulls on the cable entry | Uneven light line, water pockets, stressed connector |
| High-resistance connection | Local heating damages the housing and seal | Discoloration near a joint, voltage loss, one section failing first |
Each row looks like a separate warranty category. In practice, they often describe different moments in one failure sequence. A professional root-cause review should therefore preserve the failed assembly, including the connector, mounting surface, end treatment, and driver data. Replacing only the dark section destroys evidence and invites the same defect back.
How does water enter an outdoor LED strip system?
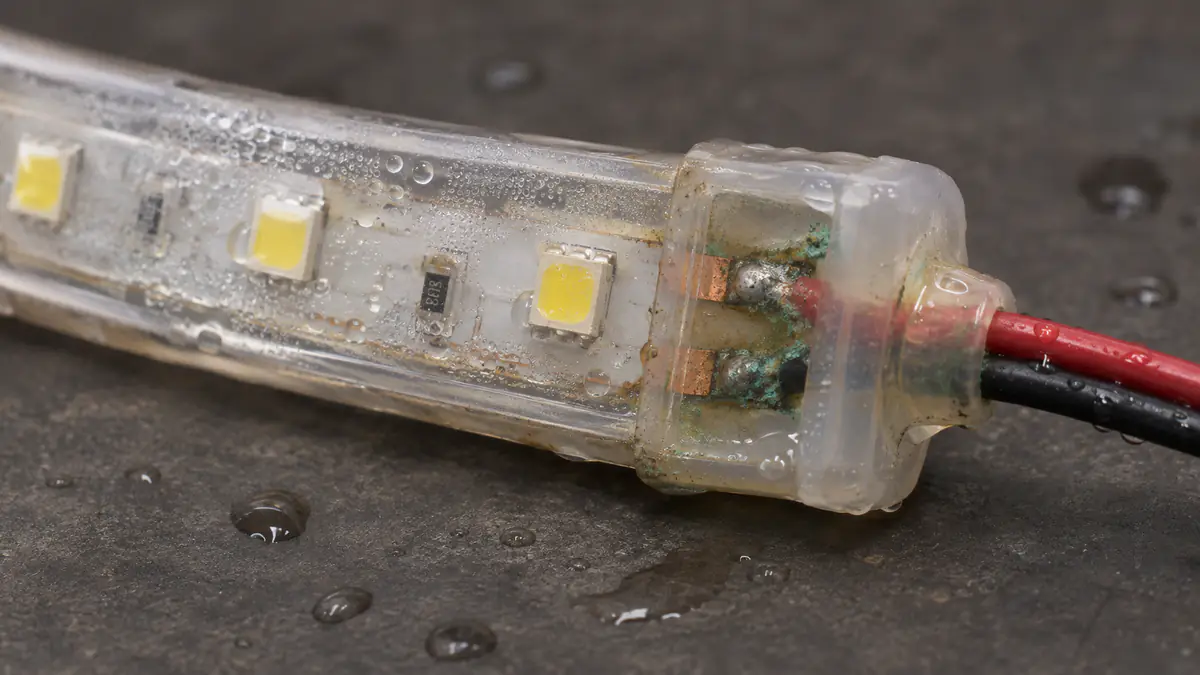
Water usually enters through an interface, not through the middle of an intact jacket. The IEC 60529 IP Code classifies enclosure protection under defined tests. It does not certify every field-made cut, end cap, splice, connector, or cable exit that is added after the tested product leaves the factory.
This distinction is the center of the IP65, IP67, and IP68 debate. IP65 addresses water jets under specified conditions. IP67 addresses temporary immersion. IP68 covers immersion beyond IP67 under conditions declared by the manufacturer. None of those numbers answers whether a cut end was resealed correctly or whether a channel can drain. Our IP65, IP67, and IP68 selection guide maps each rating to real project exposure.
The vulnerable water paths
- Cut ends and end caps: A straight factory seal can become an open path as soon as the strip is cut. The replacement seal must match the jacket material and geometry.
- Wire exits: Water can follow a cable toward the housing, especially when the lead slopes directly into the entry. A drip loop and strain relief reduce this risk.
- Connectors and splices: A sealed strip connected through an indoor clip or unprotected joint is not a sealed lighting system.
- Condensation: A sheltered pergola beam can still trap humid air. Temperature changes can create moisture inside a cavity even when direct rain never reaches the strip.
- Channels without drainage: A diffuser can hide retained water. End caps, low points, and blocked drain paths then keep the connection wet.
Waterproofing also changes service strategy. A deeply potted joint may resist moisture well but become impossible to inspect or replace. A field-serviceable connector improves maintenance only if its sealing system survives the real cable size, mating procedure, and pull load. The buyer must choose which joints are permanent, which are replaceable, and where those joints remain accessible.
Procurement rule: Ask the supplier to define the IP condition of the finished assembly, including both ends, lead-wire exit, connector, and any permitted field cut. “The strip is IP67” is not an installation specification.
Why does heat damage more than the LEDs?
Heat is a multiplier because it ages several materials at once. The DOE luminaire lifetime guide explains that higher temperatures speed the degradation processes in LED components. It also states that junction temperature and drive current are major determinants of expected LED package life.
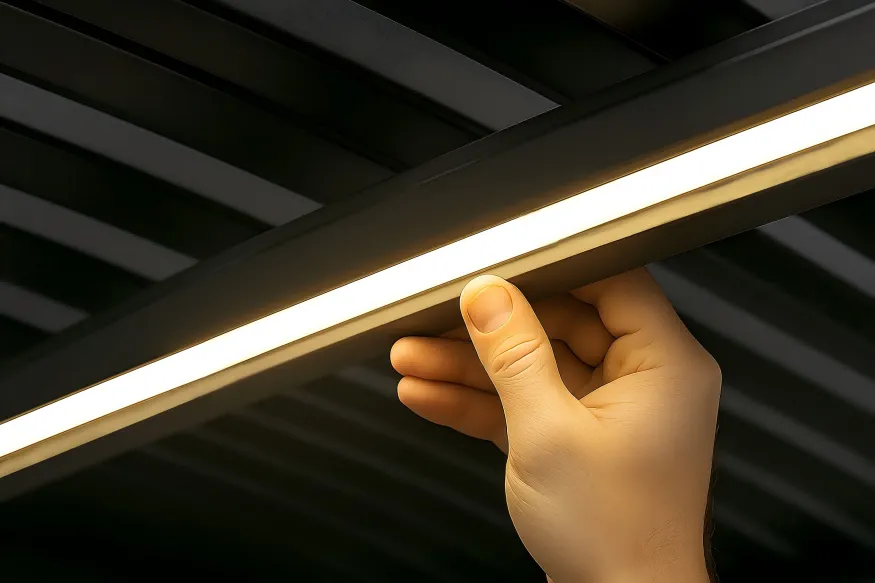
For strip systems, the thermal path starts at the LED and copper circuit, passes through the PCB and adhesive layer, and ends at the mounting surface or aluminum profile. A dark pergola beam in direct sun can already be hot before the strip turns on. A waterproof silicone sleeve adds environmental protection but may also resist heat flow. Enclosing the driver in a sealed box can protect it from rain while trapping the heat it generates.
Four thermal mistakes that look like product defects
- Mounting high-power strip on timber, plastic, or foam tape alone. These surfaces do not spread heat like a properly sized metal profile.
- Leaving air gaps beneath the PCB. Wrinkles, dust, uneven adhesive, and curved substrates reduce heat transfer.
- Loading the driver without checking its temperature derating. Rated power is conditional. The driver data sheet may require lower load at higher ambient temperature.
- Placing strip and driver in a closed cavity. The system can pass a short bench test, then run much hotter after the beam or channel is closed.
An aluminum profile is not just trim. It creates a flat mounting plane, spreads heat, supports a diffuser, and protects the strip from handling. Yet the profile must still be matched to strip width, watts per metre, enclosure depth, airflow, and exposure. The practical installation method in our deck-edge and step strip guide treats the channel, diffuser, driver, and wiring as one compact luminaire.
Qualification testing should record temperature at the strip and at the driver case after the complete assembly reaches steady operation. Test the worst credible combination: full output, closed diffuser, high ambient temperature, realistic mounting surface, and the actual waterproof construction. A five-minute lighting check can find polarity errors. It cannot validate thermal design.
Why does outdoor LED strip adhesive fail?
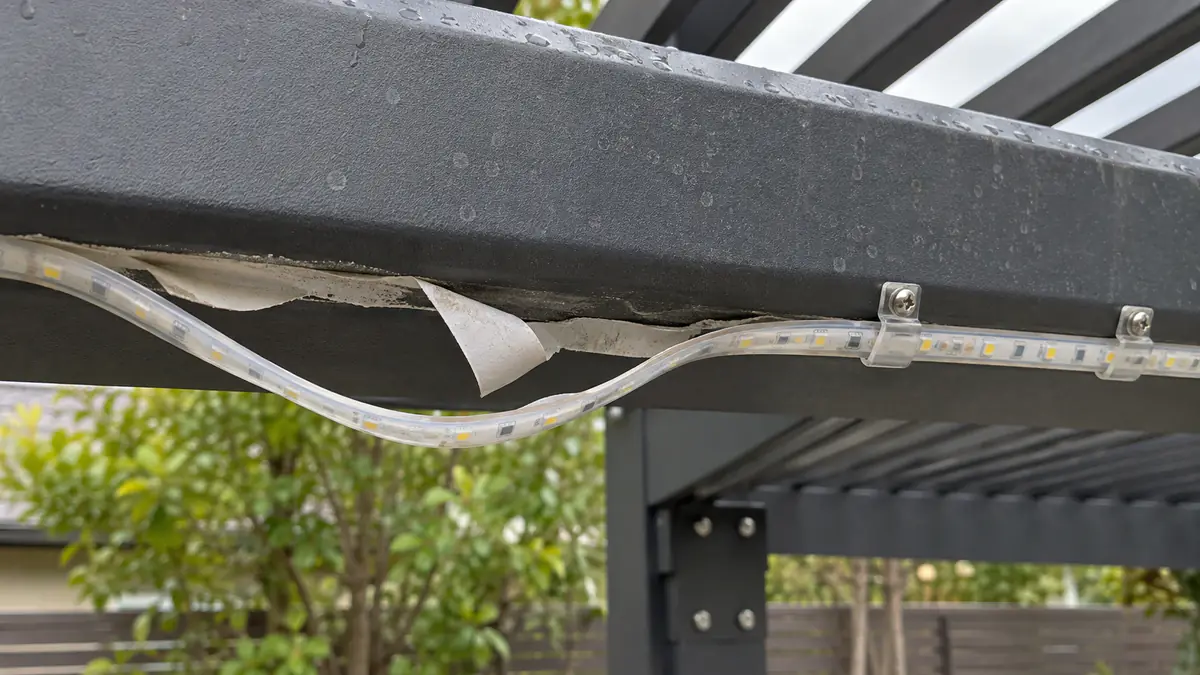
Backing tape fails when it is asked to perform as the permanent structure. Pressure-sensitive adhesive depends on surface energy, cleanliness, flatness, application pressure, temperature, and time. Outdoors, it also faces moisture, dust, expansion, contraction, gravity, and the extra weight of a waterproof jacket.
3M’s VHB surface-preparation guidance says bonding surfaces should be clean, dry, and well unified. It notes that porous materials such as wood and concrete generally need sealing. It also reports that, at room temperature, a suitable VHB bond reaches about 50 percent of ultimate strength after 20 minutes, 90 percent after 24 hours, and 100 percent after 72 hours.
Those figures do not mean every LED strip backing uses VHB or performs the same way. They show why “peel and stick” is an incomplete installation instruction. An installer who applies tape to cold, dusty powder coat and loads it immediately has not created the bond evaluated by the adhesive supplier.
A better mechanical design
Use adhesive to establish intimate thermal contact and hold alignment during assembly. Use a screw-fixed aluminum channel, compatible clips, or a purpose-built carrier to resist long-term weight and movement. Mechanical retention is especially important on overhead pergola runs, rough masonry, treated timber, curved sections, and any installation where a released strip could pull on its connector.
Surface preparation must be written for the real substrate. Powder coat, anodized aluminum, composite decking, painted timber, stone, PVC, and silicone jackets do not accept one universal tape. Specify cleaning method, acceptable primer, application temperature, roll-down pressure, cure time, clip spacing, and whether the strip may be energized before the bond develops.
The common objection is that clips add labor. They do. But replacing a fallen strip after a pergola roof, deck fascia, or hospitality terrace is finished costs far more. For a repeatable product line, the right comparison is not tape cost versus clip cost. It is controlled installation cost versus uncontrolled field service.
Why do connectors become the hottest and wettest point?
A connector concentrates electrical, mechanical, and environmental risk in a small space. It carries current through contact surfaces, interrupts the waterproof jacket, receives cable pull, and often sits where installers have the least room to work. If its contacts do not mate fully, resistance rises. Current through that resistance creates local heat, which can soften plastic, relax contact force, and weaken the seal.
Moisture then accelerates corrosion. TE Connectivity notes that moisture and dust can cause corrosion, intermittent signals, reduced insulation performance, and early connector failure. Its sealed connector systems combine interface seals, individual wire seals, locking features, and accessories for strain relief. That combination illustrates an important rule: a gasket alone does not make a reliable connector.
What a professional connector specification includes
- Rated voltage and current for the actual circuit, including the highest-load color mode.
- Conductor count, wire gauge, strip width, pad geometry, polarity, and pin assignment.
- Sealing condition when mated, plus protection for any unused port.
- Contact material and plating suited to humidity, condensation, and any coastal exposure.
- Positive locking, correct insertion depth, strain relief, and cable bend control.
- A defined assembly method that production workers and field installers can repeat.
Solderless strip clips are attractive because they shorten installation time. Outdoors, their suitability depends on the exact strip construction and enclosure. Removing silicone to reach copper pads can create a new water path. A clip designed for an 8 mm uncoated PCB may not hold an 8 mm coated strip after the coating is removed. For permanent exposed joints, factory-terminated, overmoulded, soldered, crimped, or potted options may offer better control, but each still needs strain relief and validation.
Brands creating a kit should freeze the connector family across the strip, extension leads, splitters, controller, and driver output. VLED’s OEM outdoor lighting kit BOM framework shows how approved combinations prevent a distributor or installer from mating parts that fit physically but fail electrically or environmentally.
How do the four failure modes reinforce one another?
The four problems form a loop. Heat weakens adhesive and sealing materials. Adhesive release changes the strip geometry and loads the connector. A stressed connector opens a path for moisture or develops higher resistance. Moisture corrodes contacts and copper, raising resistance and producing more heat.
This loop explains intermittent faults that disappear on the workbench. Moving the strip can restore a weak contact. Dry indoor air can temporarily improve an insulation problem. An open channel cools the assembly. Unless the diagnostic recreates the installed condition, the returned sample may be labeled “no fault found” even though the system is already failing.
| Symptom | First checks | Do not assume |
|---|---|---|
| One section flickers in wet weather | Connector seal, cut end, cable entry, corrosion, insulation resistance | The controller is defective |
| Far end is dim or color-shifted | Voltage at load, run length, cable gauge, feed layout, connector heating | The LEDs have inconsistent bins |
| Strip falls from a channel | Surface preparation, tape compatibility, cure time, temperature, clip design | Stronger tape alone will solve it |
| Several runs stop together | Shared driver, controller, protection device, enclosure temperature, common junction | Every strip failed at once |
| Failure starts beside a connector | Contact resistance, current, insertion, strain relief, water tracking | The connector rating applies to this assembly |
What should brands and project buyers specify before ordering?
Specify the failure controls, not just the desired light output. A useful RFQ states where water can reach the system, where heat can leave it, what carries the mechanical load, how every joint is sealed, and how a failed module will be replaced. This turns reliability into an auditable product requirement.
- Define the exposure zone. Record direct rain, wind-driven water, condensation, irrigation, standing water, UV, coastal salt, cleaning chemicals, and temperature range.
- Freeze the construction. State PCB width, voltage, watts per metre, coating or sleeve, bend direction, cut interval, lead-wire exit, and approved channel.
- Approve every termination. Include factory ends, field ends, connectors, splitters, unused ports, cable glands, and junction boxes.
- Document the thermal path. Name the mounting surface and profile, adhesive interface, driver location, enclosure, expected ambient condition, and temperature limits.
- Control mechanical retention. Define clips, channel fasteners, spacing, surface preparation, cure time, minimum bend radius, and strain relief.
- Validate the complete sample. Test production-length runs with the real driver, controller, connectors, diffuser, channel, mounting orientation, and sealing method.
- Plan service and traceability. Keep batch identity, configuration revision, compatible spare parts, test record, and an installation drawing with accessible joint locations.
Customization should remove risk, not add decoration. Factory-cut lengths can reduce field seals. Standard connectors can prevent polarity errors. A fixed channel family can stabilize thermal and optical performance. The custom outdoor LED strip specification guide covers length, CCT, RGBW control, connectors, and packaging from that application-first perspective.
For North American products, compliance must also be evaluated at system level. UL Solutions explains that low-voltage lighting may be evaluated as a complete system or as compatible luminaires and power units, with UL 1838 and UL 2108 among the relevant standards. The exact certification path depends on the product and target market. A component mark should never be presented as proof for an untested finished kit.
When is LED strip the wrong product?
Strip is the wrong choice when the architecture cannot provide a stable thermal path, drainage, protected joints, or service access. A continuous line of light is attractive, but it should not force a fragile detail into a wet planter, an inaccessible roof cavity, or a surface that moves too much for the strip and its seals.
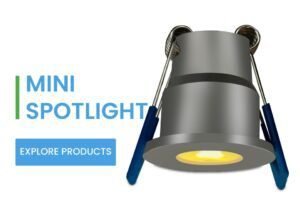
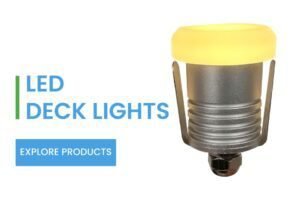
In those locations, a compact sealed luminaire may isolate risk better. Recessed deck lights can mark stair edges without a long adhesive bond. Mini spotlights can create focused accents under pergola beams while keeping each fixture replaceable. A mixed system can use strip in protected linear zones and discrete fixtures at corners, columns, steps, and exposed landscape features.
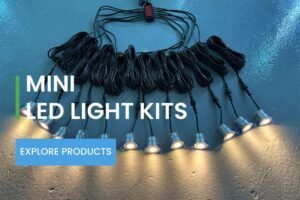
VLED began its lighting business in 2010 and develops and manufactures mini LED spotlights, deck and step lights, strip products, accessories, and low-voltage lighting kits. That product range supports a practical design choice: compare continuous strip with mini LED spotlights for pergolas and a matched low-voltage outdoor kit architecture before locking the project into one light source.
Frequently Asked Questions
Is IP67 always better than IP65 for outdoor LED strips?
No. IP67 adds temporary-immersion protection under defined test conditions, but a more encapsulated strip may be heavier, less flexible, harder to service, and more difficult to cool. Choose the rating from credible exposure, then verify ends, connectors, drainage, UV resistance, thermal design, and installation instructions.
Can outdoor LED strip lights be installed with adhesive only?
Adhesive-only mounting is risky for long-term outdoor use, especially overhead or on rough, porous, damp, hot, or low-surface-energy materials. Use a compatible adhesive for thermal contact and positioning, then add an approved channel, clips, or carrier when gravity, movement, or weather can load the bond.
Why does an LED strip fail next to the connector?
The joint may have incomplete contact, excessive current, poor strain relief, or moisture intrusion. Those conditions raise contact resistance and local temperature. Check voltage drop across the mated connector, signs of corrosion or discoloration, conductor size, insertion depth, seal condition, and cable movement before replacing the strip.
Does an aluminum channel make an LED strip waterproof?
No. A channel provides mounting, heat spreading, mechanical protection, and optical control. Its diffuser and end caps do not automatically create a certified waterproof enclosure. The strip construction, joints, cable entries, drainage, orientation, and channel sealing method still determine how the installed system handles water.
What should be tested before approving a bulk order?
Test production-length assemblies with the actual driver, controller, connectors, cable, channel, diffuser, mounting orientation, and end treatment. Record operating temperature, voltage along the run, current, light uniformity, connector heating, seal integrity, adhesion or clip retention, and performance after relevant environmental cycling.
Specify the system before approving the strip
If you are developing an outdoor LED range, pergola lighting kit, deck-lighting package, or project-specific strip assembly, send VLED the application drawing, run lengths, exposure conditions, voltage, control mode, connector plan, and mounting detail. The engineering discussion should begin with the failure risks your product must control.
ピンバック: IP Rating Guide for Outdoor LED Spotlights, Deck Lights, and Strip Lights - miniledspotlight.com
ピンバック: Outdoor LED IP Ratings: Spotlights, Deck Lights & Strips