





Our position: for composite decking, the most important LED deck light decisions are not only lumen output or bezel style. They are the operating temperature of the fixture, the tolerance of the cutout, the way the finish sits against the board, and the route used to reach the cable after installation. These details should be frozen at sample stage, before a brand commits to tooling, packaging, or a large order.
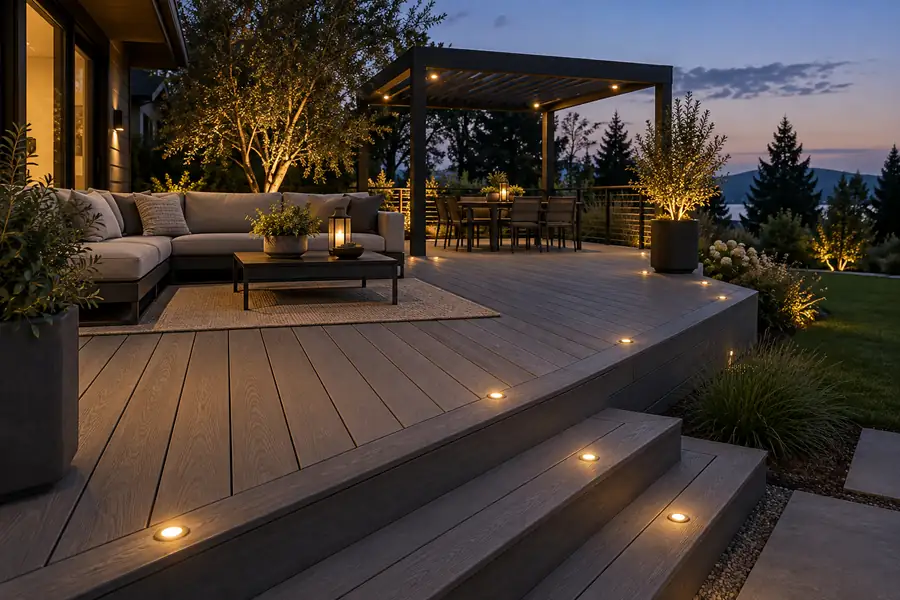
That point matters to landscape lighting brands, pergola and patio suppliers, importers, wholesalers, and contractors because composite decks are rarely a single-product sale. The lighting package has to coordinate with boards, joists, stairs, fascia, railing posts, transformers, connectors, and the installer’s sequence of work. If any one interface is ignored, the lighting may look acceptable on day one but become difficult to fit, difficult to replace, or difficult to sell again.
1. Heat: design for the board and the fixture together
Heat is often discussed as if low-voltage LED automatically solves it. It does not. Low voltage addresses electrical system design; it does not remove the need to manage heat at the LED, driver, housing, and surrounding deck material.
For a recessed deck light, review four thermal interfaces:
- LED and housing: confirm how the fixture transfers heat away from the LED and whether the housing is intended to be buried, recessed, or surface mounted.
- Fixture and board: avoid a press fit that prevents the board from accommodating normal movement or places mechanical stress on the bezel.
- Fixture and cavity: do not assume the cavity is a heat sink. Composite material and trapped air may behave very differently from an aluminum mounting profile.
- Driver and enclosure: keep the power supply and connections out of wet, unventilated locations and follow the driver manufacturer’s installation requirements.
In a commercial specification, ask the supplier for the fixture’s rated operating conditions, installation orientation, allowable recess depth, and recommended clearance. Then test the complete assembly in the actual board or a representative sample. A laboratory fixture test alone cannot show whether a bezel discolors the surface, whether heat is trapped under a cap layer, or whether the board becomes difficult to remove around the light.
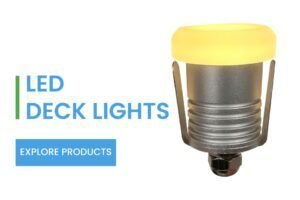
VLED’s LED deck light range is built around small recessed formats for deck, stair, walkway, and landscape applications. The range includes 12V and 24V options, dimmable versions, and IP65 models. Those published details are a starting point for selection, not a substitute for project-specific thermal and fit validation.
2. Cutouts: the number on the drawing is only the beginning
Cutout diameter is one of the first questions buyers ask, but “What is the hole size?” is incomplete. The production-ready specification should also define the tolerance, drilling method, depth, cable exit, bezel diameter, and the relationship between the light and the board’s surface texture.
| Specification item | Why it matters on composite decking |
|---|---|
| Cutout diameter | Controls fit, retention, and the visible gap around the bezel. |
| Cutout tolerance | Prevents a fixture from being loose in one board and forced into another. |
| Recess depth | Determines whether the light sits flush without weakening the board surface. |
| Cable hole and direction | Prevents the lead from being pinched against a joist or support clip. |
| Drill or hole-saw method | Controls edge quality, burrs, and the risk of chipping the capped surface. |
| Replacement method | Determines whether a failed light can be removed from above without board damage. |
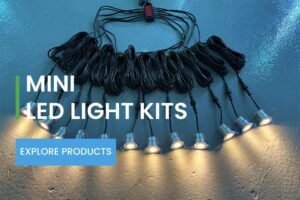
VLED publishes recessed deck light examples with cutouts around 29 mm, 31 mm, 32 mm, and 39 mm, depending on model. The mini LED spotlight range also includes compact recessed products with different cutout sizes. This is commercially useful for brands that need one visual family across decks, steps, pergolas, and landscape details, but each SKU still needs its own board sample and installation drawing.
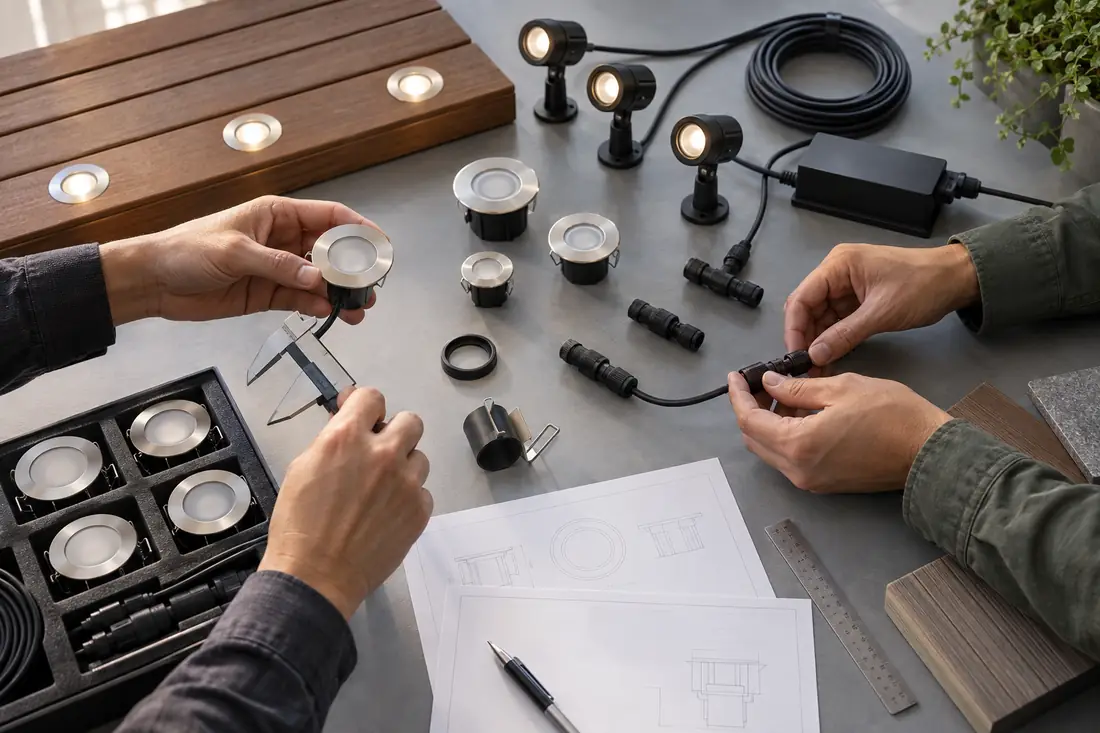
For repeatable projects, provide installers with a real cutting reference rather than a diameter alone. VLED lists a dedicated hole saw and lighting accessory range, including a hole saw for a 22 mm cutout. If the project needs a different size, the same principle applies: specify the correct tool, cutting depth, and test piece before field installation.
3. Finish: flush is a mechanical result, not a styling word
“Flush-mounted” sounds simple until the deck has a wood-grain emboss, a capped surface, a slight board crown, or a narrow edge detail. A good finish is the result of controlled geometry between the fixture, cutout, board, and sealing detail.
For a premium project, review these finish questions:
- Does the bezel sit level with the board, or is a slight proud position intentional?
- Is the bezel finish compatible with the board color and the surrounding hardware?
- Does the fixture create a visible shadow line or an uneven gap after installation?
- Will the sealant or gasket remain visually controlled after seasonal movement?
- Can the light be removed without tearing the capped surface or marring the board?
The visual target should also match the lighting purpose. Recessed mini deck lights can mark a step edge or create a low-level rhythm along a path. A small spotlight can provide a more directional accent on a planter, wall, or pergola post. Do not use a wide-beam fixture everywhere simply because the deck has many points. The result can become visually flat and harder to control with a dimmer.
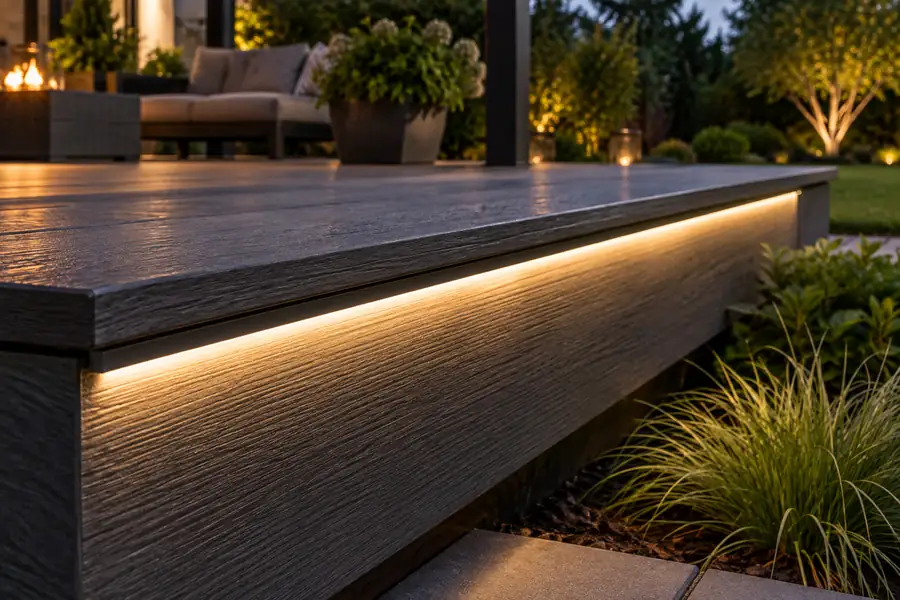
For continuous edge or fascia details, a COB strip may be the better construction. VLED’s COB LED strip range includes 12V and 24V formats, different PCB widths, and cuttable configurations. A strip still needs a suitable profile, drainage strategy, end treatment, and service plan. It should not be pressed directly into an unprepared composite channel and expected to perform as a complete outdoor assembly.
Many deck lighting problems are not caused by the LED. They are caused by a cable path that becomes inaccessible once the deck, fascia, or railing is complete. This is why cable access belongs in the product brief, not only in the installer’s notes.
Plan the route from each fixture to a reachable connection point. Keep cables clear of sharp metal edges, moving components, drainage channels, and areas where future fasteners may be installed. Leave enough service slack to remove the light without pulling on the connector. Where a cable passes through a board or framing member, define the hole location and any protective grommet or sleeve required.
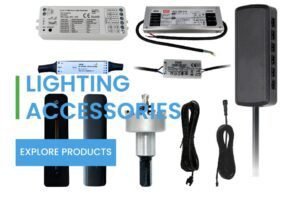
VLED’s accessory range includes IP65 extension cable options in several lengths, 6-way and 12-way splitters, and 12V/24V power supplies. These options support a kit-based approach, but the layout still has to be engineered for the actual deck. A splitter hidden behind a sealed fascia is not serviceable simply because the connector is rated for outdoor use.
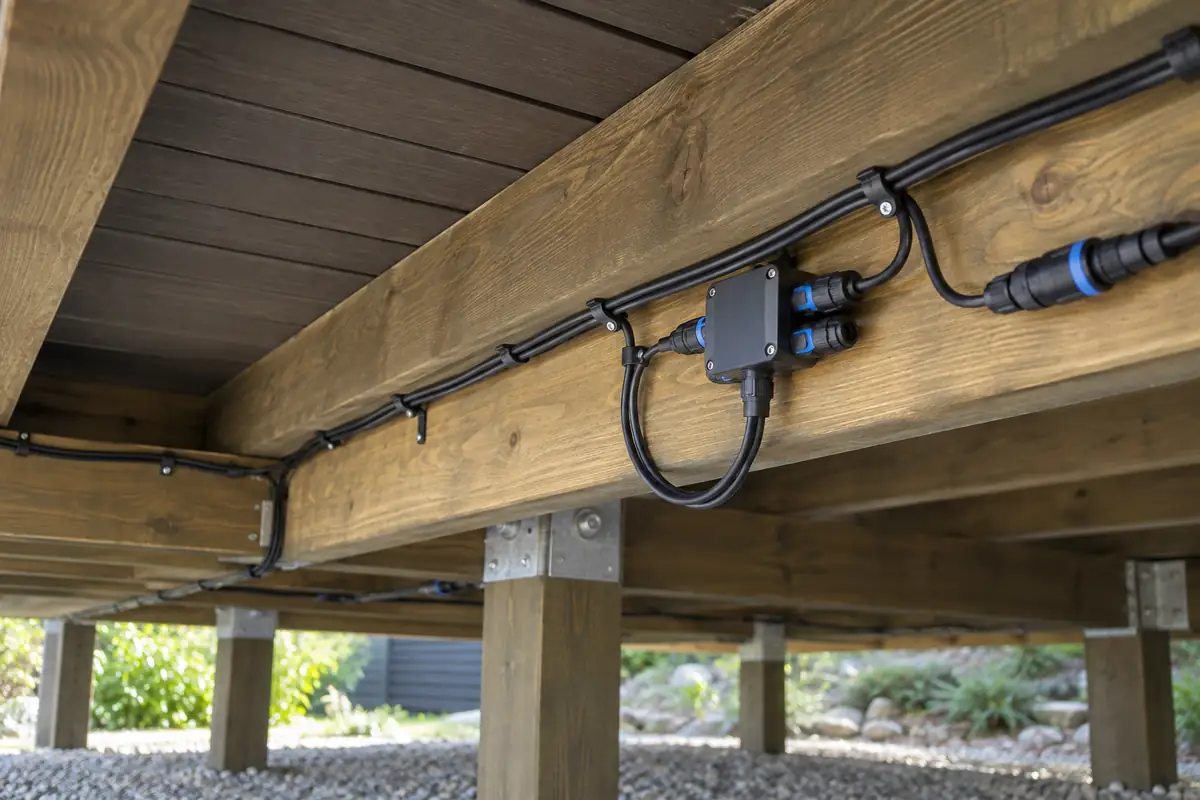
Practical rule: every light, splitter, driver, and junction should have a defined installation location and a defined replacement path. If the drawing cannot show how an installer reaches it after completion, the design is not finished.
For a broader low-voltage planning reference, see the Decks.com low-voltage deck lighting guide. It reinforces the value of planning light positions, transformer location, and wiring before the deck is closed. Local electrical requirements still apply, and mains-side work should be handled by a suitably qualified professional.
A project-ready specification workflow for brands and contractors
When developing a private-label or project lighting package, use a controlled sequence. It saves more time than revising a bezel or cable after production has started.
- Define the application: deck surface, stair riser, fascia, railing, pergola post, or continuous edge. The application determines the optical and mechanical priorities.
- Choose the light architecture: recessed mini spotlight, recessed deck light, surface-mounted light, or COB strip in a suitable profile.
- Freeze the board interface: board thickness, cutout, recess depth, tolerance, bezel, gasket, and the approved installation tool.
- Draw the cable system: fixture lead, extension length, splitter position, driver location, service slack, and access panel or removable board.
- Test a real assembly: install the light in the intended composite board and frame. Check heat, fit, appearance, water exposure, removal, and cable strain.
- Release the installer package: include the product drawing, hole size, drilling depth, wiring diagram, polarity or connector information, sealing notes, and replacement procedure.
This workflow is also a useful filter when comparing suppliers. A supplier that can provide only a product photo and a wattage is not offering the same project value as a supplier that can support samples, accessory matching, cutout tools, packaging, and application-specific engineering.
How VLED can support a composite decking lighting range
VLED develops and manufactures mini LED spotlights, LED deck and step lights, COB LED strips, and lighting accessories for outdoor and indoor applications. The company’s website describes more than 14 years of LED lighting experience, OEM/ODM and NDA cooperation, and a history of customized samples for global lighting partners. For a buyer, the practical value is the ability to develop the fixture, cable kit, control method, and packaging as one product family.
For deck and patio programs, that may mean combining recessed LED deck lights for steps and pathways with minispots for posts or landscape accents. A pergola supplier may also need a coordinated COB strip for rafters or fascia, plus the drivers, splitters, cables, and hole tools that make installation repeatable.
The correct starting point is not a generic catalog request. Send the board profile, target cutout, voltage, color temperature or color-control requirement, dimming method, cable lengths, environmental exposure, and expected order format. VLED’s technical contact page can be used to start that discussion, while the VLED company page provides background on its R&D and manufacturing capability.
Composite deck lighting checklist before approval
- The fixture is approved for the intended indoor or outdoor exposure.
- Voltage, dimming, driver capacity, and connector system match the project.
- Cutout diameter and depth have been tested in the actual or representative board.
- The light is not forced into a hot board and can accommodate normal movement.
- The bezel, gasket, sealant, and board finish create a controlled visible result.
- Cable exits do not clash with joists, clips, fasteners, or drainage paths.
- Drivers, splitters, and connections remain inspectable or replaceable.
- The installation package includes tools, drawings, wiring, and removal instructions.
- One complete sample has been reviewed by the brand, installer, and supplier before bulk production.
Frequently asked questions
Can LED deck lights be installed in composite decking?
Yes, provided the fixture, cutout, depth, cable route, and sealing method are specified for the actual composite board and framing system. A test installation should confirm fit, flushness, thermal behavior, and service access before production quantities are released.
What cutout should be used for a recessed composite deck light?
There is no universal cutout. The correct diameter and depth come from the selected fixture and the board construction. VLED lists recessed deck light options with cutouts around 29 mm to 39 mm, but the product drawing and sample fit should control the final specification.
Are 12V or 24V deck lights better for composite decking?
Neither voltage is automatically better for every deck. The choice depends on run length, fixture load, driver availability, control architecture, and the requirements of the market where the product will be installed. Specify the complete system, including cable lengths and voltage-drop considerations.
How should deck light cables be routed?
Plan the cable route before the deck is closed. Keep connectors away from drainage paths, protect cables from sharp framing edges, leave service slack, and place drivers, splitters, and junctions where an installer can inspect or replace them without damaging the finished deck.
Specify the light before the deck is closed
A composite deck lighting package succeeds when the fixture, board, cable, driver, and installation method are designed together. If you are developing a private-label product, sourcing a repeatable kit, or preparing a project specification, share the board profile, target cutout, voltage, finish, and cable layout with VLED. The team can help you turn that information into a sample-ready mini LED spotlight or deck light system.
Send Us Your Request