





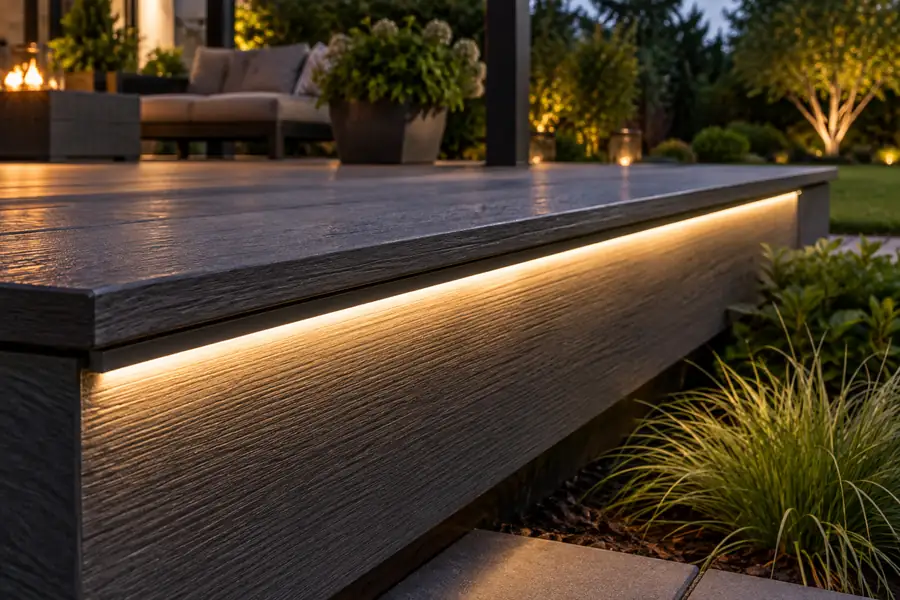
Key Takeaways
- Design the strip, aluminum channel, diffuser, driver, and wiring as one outdoor lighting system.
- Use channel depth, LED density, and diffuser choice together to control hotspots, glare, and visual uniformity.
- Choose 12V or 24V from the run length, power layout, and service plan, not from habit.
- For stairs, hide the source beneath the tread nose or behind the riser so the light guides movement without shining into eyes.
- Test every circuit before closing the channel, end caps, deck fascia, or finished stair surface.
Search results for deck-edge and step strip lighting usually focus on how to cut a profile, press in the tape, fit a frosted lens, and connect a low-voltage driver. That sequence is useful, but it misses the decision that matters most to a professional buyer: how will the system look and perform after installation, weather exposure, thermal cycling, and repeated service?
My position is straightforward. Do not sell outdoor strip lighting as adhesive tape with accessories added later. Specify it as a compact linear luminaire. That means the optical system, mechanical profile, environmental protection, electrical architecture, and replacement method are decided before production or installation begins.
That approach is especially important when a lighting brand or deck supplier is building a repeatable range. A reliable system must work across composite decking, timber, stone steps, pergola beams, railings, and different local electrical requirements. It must also be easy for a contractor to understand from a drawing and easy for a distributor to explain from a product page.
Why aluminum channels matter on deck edges and steps
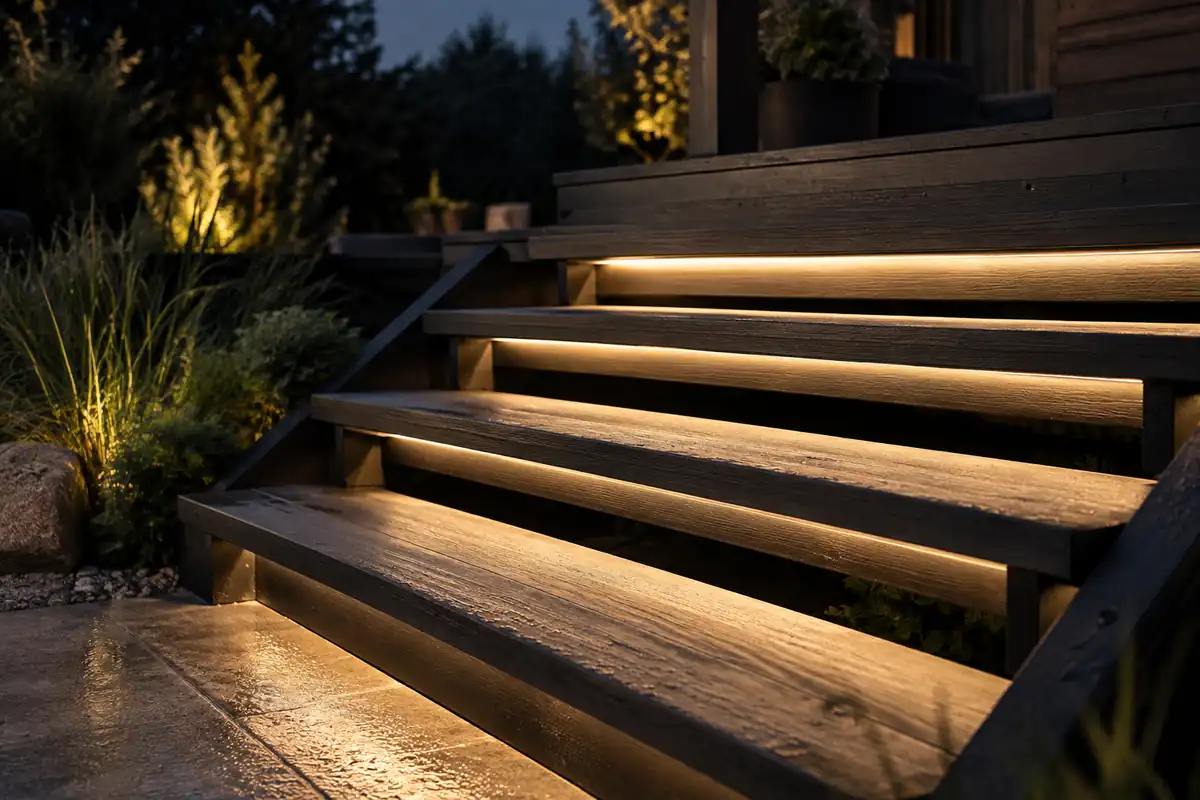
An aluminum channel does three jobs that exposed tape cannot do consistently: it provides a stable mounting plane, manages heat, and creates a controlled optical opening. Outdoor installation guides from HitLights et Super Bright LEDs both treat the profile as part of the fixture assembly, not as decoration.
For a deck edge, a surface-mounted channel is often the most practical option. It can sit below the fascia, under a rail, or beneath a nosing without weakening the finished deck board. For a stair, a recessed profile can give a more integrated appearance, but it demands accurate routing, protected cable access, and enough material around the recess to preserve structural integrity.
Profile geometry also controls glare. A shallow channel pointed toward the viewer may reveal the diode line even when the lens is frosted. A deeper profile, a higher-density strip, or a concealed mounting angle can produce a smoother wash. The correct answer depends on the viewing position and the surface being lit, not simply on the channel’s external width.
Manufacturer’s rule: sample the complete strip, channel, diffuser, and mounting angle on the actual deck material. A lens that looks uniform on a white workbench may show dots against dark composite, brushed aluminum, or wet stone.
How should you choose the diffuser?
The diffuser should be selected for the visual task first and the weather condition second. A clear lens preserves more output but does little to hide LED spacing. A frosted lens softens the source and reduces glare. A deeper profile with a good opal diffuser can improve continuity, but it may also reduce delivered light, so output should be checked at the surface rather than assumed from the strip’s nominal rating.
| Project requirement | Typical direction | What to verify |
|---|---|---|
| Continuous glow along a fascia | High-density or COB strip with frosted diffuser | Hotspots at the chosen mounting distance and lens transmission |
| Low-glare step marking | Diffuser aimed down or toward the tread | Visibility from the approach and absence of direct eye exposure |
| Visible architectural detail | Recessed or trimless profile | Drainage, clean routing, tolerances, and future access |
| Harsh exposure or splash zones | Outdoor-rated strip in a protected profile | IP system design, end-cap sealing, cable entry, and maintenance plan |
A diffuser is not a waterproof rating. The strip, solder joint, connector, end cap, cable entry, and enclosure must be considered together. This is why a product described as IP65, IP67, or IP68 should not be treated as automatically safe in every deck detail. Water can enter at the weakest interface, especially where a cable exits the profile or where an end cap is cut for wiring.
For step systems, the profile must also avoid becoming a trip hazard. The Gradus LED stair-edging guidance is a useful reference because it shows how the diffuser, edging, end caps, and cable-management parts work as one assembly. The same principle applies even when the final product is a custom deck profile rather than a stair nosing.
COB strip or conventional LED tape: which is better?
For a visible deck edge, COB strip is often the safer starting point because its dense light-emitting surface can reduce the dotted appearance associated with widely spaced SMD packages. It does not remove the need for a channel and diffuser. It simply gives the optical system more uniform source material to work with.
Conventional SMD tape can still be the right choice when the channel is deep, the strip is hidden from normal view, the run is primarily a wash, or the design needs a specific RGB, RGBW, or tunable-white package. The decision should follow the required beam direction, color quality, output, cut length, and control system.
As a practical reference, VLED’s FOSSIL COB strip is listed as a 24V, 8W/m, 8mm-wide strip with 384 LEDs per meter and CRI above 90. Those specifications illustrate the type of information a project buyer needs before matching a strip to a profile. They do not replace a complete photometric and environmental review for the final application.
For brands developing a private-label range, standardize the strip width, cut interval, connector method, color options, and channel family. A product that changes width or cut spacing between batches creates avoidable installation errors and complicates spare-parts management.
12V or 24V wiring for deck edges and steps?
The best voltage is the one that gives the project a manageable power layout, acceptable voltage drop, and serviceable connections. In many commercial runs, 24V reduces current for the same power and makes longer linear sections easier to distribute. Twelve-volt systems remain useful for short runs, established landscape-lighting ecosystems, and products already standardized around 12V drivers.
Never choose a driver by matching voltage alone. Calculate the total strip load from the actual installed length, add appropriate operating margin, and confirm that the driver is suitable for the environment and control method. A 24V strip must use a 24V constant-voltage driver. Mixing strip voltage and driver voltage can damage the product and create a serious safety risk.
For a long deck edge or a staircase with multiple sections, plan power injection and distribution before the channel is installed. A single feed at one end may leave the far end visibly dimmer, shift color, or overload a small connector. Parallel branches, short lead lengths, and accessible junction points usually produce a more predictable result than one extended daisy chain.
Use a wiring schedule, not only a wiring sketch
A project drawing should identify each run, its length, strip wattage, driver output, branch location, cable route, polarity, connector type, and service access. Mark the first and last LED position on every strip. This small document prevents installers from cutting a production-length strip at the wrong point or hiding a connection behind a finished board.
For outdoor connections, use components and enclosures suited to the installation environment. Protect cables from sharp aluminum edges, fasteners, standing water, pests, and movement caused by wind or thermal expansion. Low-voltage does not mean “ignore local code.” The mains side of the driver and any required GFCI or RCD protection should be handled according to the applicable local rules by a qualified electrician.
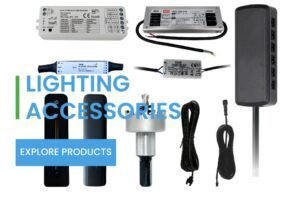
VLED’s lighting accessories category includes power supplies, splitters, wires, cables, and installation tools. For a system supplier, the value is not simply having more parts. It is the ability to define a compatible bill of materials so that the strip, driver, cable, connector, and mounting hardware arrive as one order.
How to light deck steps without creating glare
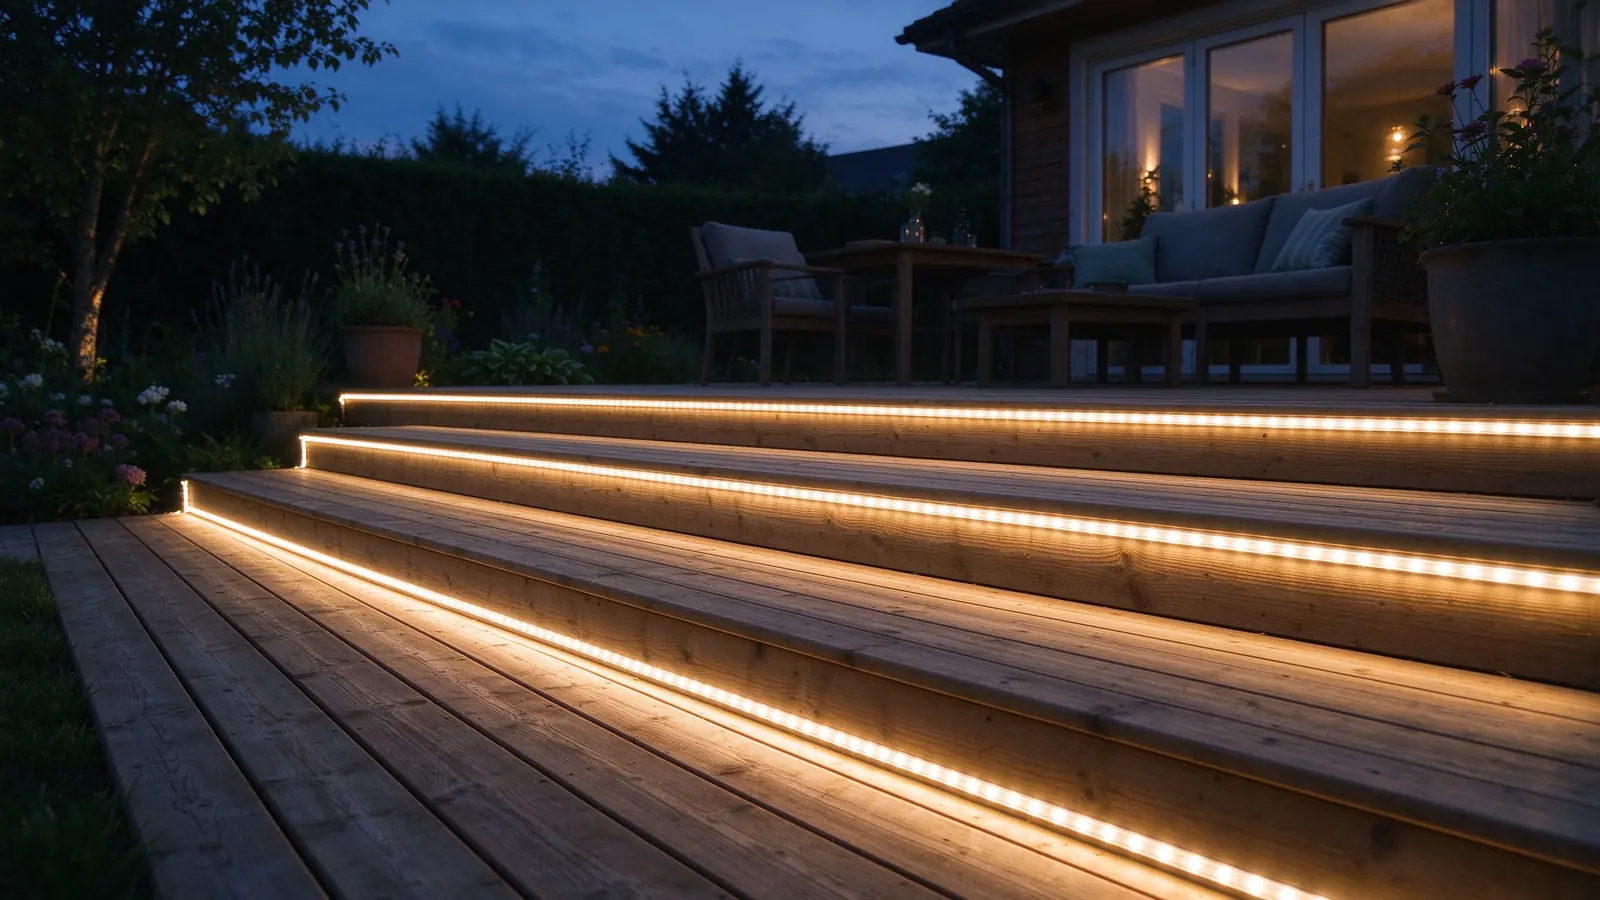
Step lighting should show the tread edge and the change in level without becoming the brightest object in the user’s field of view. The most reliable position is usually under the tread nose, behind a small overhang, or inside a recessed profile aimed across the tread. Avoid placing the source where a person approaching the stairs sees the LEDs directly.
Do not assume that every step needs a full-length strip. A shorter, well-positioned linear section can provide a clearer visual rhythm and simplify wiring. In other designs, a continuous line across each tread is appropriate because the stair is also a strong architectural feature. The choice should be made from the required light distribution and the project’s cleaning and maintenance routine.
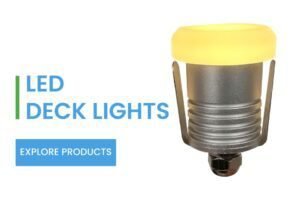
For a small, precise light point rather than a continuous line, compare strip lighting with recessed deck fixtures. VLED’s SIP recessed deck light is specified for 12V or 24V DC, IP65, dimming, and a 31mm suggested cutout. Its SLED step/deck light range offers a larger format for projects that need point sources rather than a concealed linear glow.
The strongest outdoor designs often combine both: a low-glare strip for edge definition and small recessed lights for focal points, landings, or areas where the deck geometry changes. That combination gives a landscape brand more design flexibility than forcing one light type into every location.
What should a professional installation sequence look like?
Installers should treat each run as a tested module. The sequence below is simple, but it prevents most expensive rework because it catches optical, electrical, and mechanical problems before the finish is closed.
- Confirm the detail. Mark the viewing angle, channel position, cable exit, drain path, and access point on the deck or stair drawing.
- Match the components. Check strip width, channel internal width, diffuser fit, end caps, lead wires, and connector clearance.
- Cut and deburr the channel. Remove sharp edges that can damage insulation or the strip PCB. Cut the diffuser separately and keep both pieces labeled by run.
- Prepare the surface. Remove dust, moisture, release agents, and loose coating. Do not rely on the tape adhesive alone when the installation is exposed to heat and moisture.
- Install the wiring first. Route cable with protection at penetrations and leave serviceable slack at the connection point. Keep polarity consistent.
- Mount and populate the profile. Fix the aluminum channel, place the strip without stretching it, and keep the PCB flat against the thermal surface.
- Test before closing. Check brightness across the whole run, color consistency, dimming, control response, polarity, and connection temperature.
- Fit diffuser and end caps. Seal only where the design and product instructions call for it. Do not block a drainage path or make a service connection permanently inaccessible.
The installation guides from ATOM LED et DecksDirect both emphasize testing before the final cover or connection is hidden. That step is not a homeowner detail. It is a quality-control gate for professional projects.
How should brands specify this system for repeat orders?
A product catalogue should describe the complete application, not only the LED tape. Buyers need to know the supported voltage, strip width, power per meter, color options, CRI, cut interval, IP strategy, channel dimensions, diffuser type, driver options, cable length, connector system, and recommended mounting positions.
For importers and wholesalers, package the decision into clear configurations: deck-edge line, step-nose line, recessed stair profile, and pergola or railing line. Each configuration can share core electronics while using different profile lengths, optics, and mounting hardware. This makes the range easier to quote and reduces the chance that a contractor combines incompatible parts.
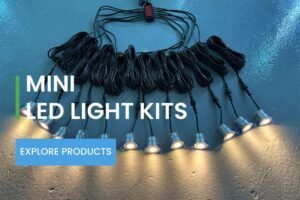
For an OEM or ODM partner, look for evidence of engineering depth beyond a product list. VLED describes its work across R&D, design, and manufacturing, with experience in mini spotlights, deck lights, strip lights, kits, and custom solutions. That matters when a deck-lighting brief needs a different cutout, cable exit, finish, control method, or coordinated product family.
Frequently asked questions
Should LED strip lights on deck steps be inside an aluminum channel?
Usually, yes. The channel stabilizes the strip, provides a heat-spreading surface, protects the PCB from impact, and gives the diffuser a controlled fit. It is not a substitute for an outdoor-rated strip or sealed connection, but exposed adhesive tape is rarely a durable specification for a professional exterior installation.
Is COB LED strip better for deck edges?
COB strip is often a strong choice when the project needs a smooth line with fewer visible hotspots. The final result still depends on LED density, channel depth, diffuser transmission, viewing angle, and mounting distance. Always sample the complete assembly on the actual deck finish before approving a production design.
Is 12V or 24V better for outdoor deck lighting?
Neither voltage is universally better. Twelve volts can suit short runs and existing landscape systems. Twenty-four volts often simplifies longer runs by reducing current for the same wattage. Select the voltage that matches the strip, driver, wiring plan, control equipment, local requirements, and service strategy.
Can a diffuser make an LED strip waterproof?
No. Waterproofing depends on the full assembly: strip construction, channel, end caps, cable entries, connectors, driver enclosure, drainage, and installation quality. A diffuser controls the appearance and provides some physical protection, but its material alone does not establish an IP rating for the finished system.
Can strip lights replace recessed deck or step lights?
Sometimes, but not always. Strip lighting is excellent for continuous edge definition and indirect washes. Recessed deck lights are often better for discrete points, landings, focal areas, or designs that need a more traditional fixture language. Combining both can give a project better visual hierarchy and easier zoning.
Final position: specify the light line as a fixture
Deck-edge and step strip lighting succeeds when the light source disappears and the architecture remains. That result comes from a coordinated channel, diffuser, strip, driver, wiring route, and service plan. It does not come from choosing the brightest tape or adding a frosted cover at the end.
For landscape brands, pergola suppliers, importers, and engineering buyers, the practical next step is to define one complete reference assembly. Test it on the target material, confirm the wiring and control behavior, document the bill of materials, and then scale the design into the product range.
Planning a deck, stair, pergola, or landscape lighting range?
Share the application, run lengths, preferred voltage, finish, control method, and target market. The VLED team can help evaluate a coordinated combination of mini spotlights, recessed deck lights, COB strip, drivers, cables, and accessories for OEM, ODM, wholesale, and project supply.
Contact VLED for a project discussion or review the LED deck light range et COB strip options.
Send Us Your Request