





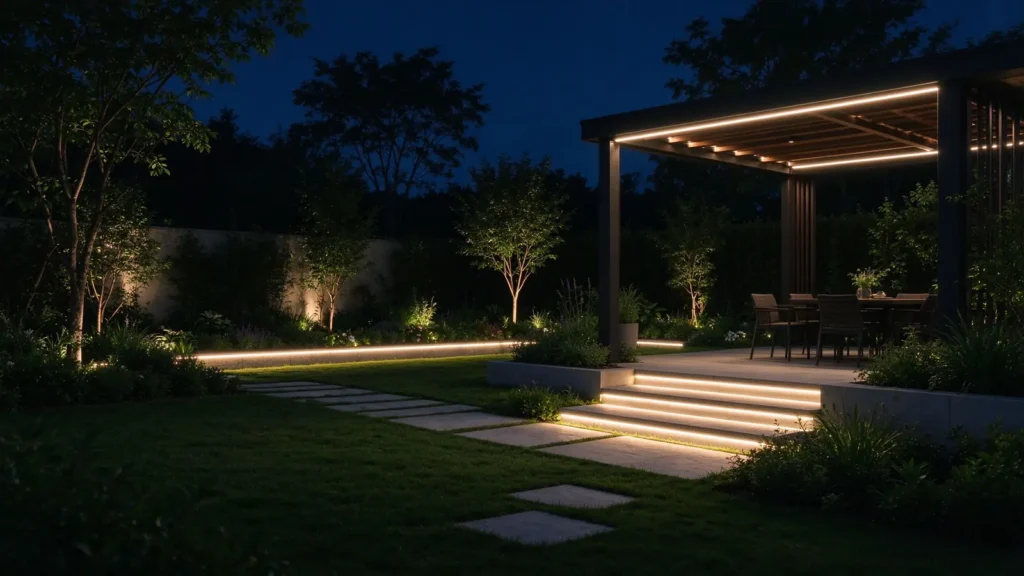
The strongest outdoor lighting kits are not built around one attractive fixture. They are built around the way people use the space.
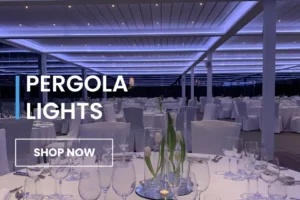
A pergola may need soft downlight over a dining table, low-glare orientation light along a step, and a quiet accent layer that makes the structure visible from the garden. A deck may need the same three functions, but with more attention to stairs, railings, edge transitions, and weather exposure. A patio often needs a wider mix: architectural light near the house, task light over a cooking or dining area, and landscape accents beyond the seating zone.
That is why a “complete kit” should mean more than a box of lamps and a remote. For a landscape lighting brand, pergola manufacturer, importer, wholesaler, or engineering contractor, the kit should define the fixture mix, voltage architecture, cable logic, control zones, mounting method, and future service path.
The practical rule: use mini spotlights for controlled points of light, LED strips for continuous architectural lines, step or deck lights for movement and edge safety, and separate control zones for each visual function. Select power and control hardware only after the fixture mix and installation layout are known.
Why fixture mix matters more than fixture count
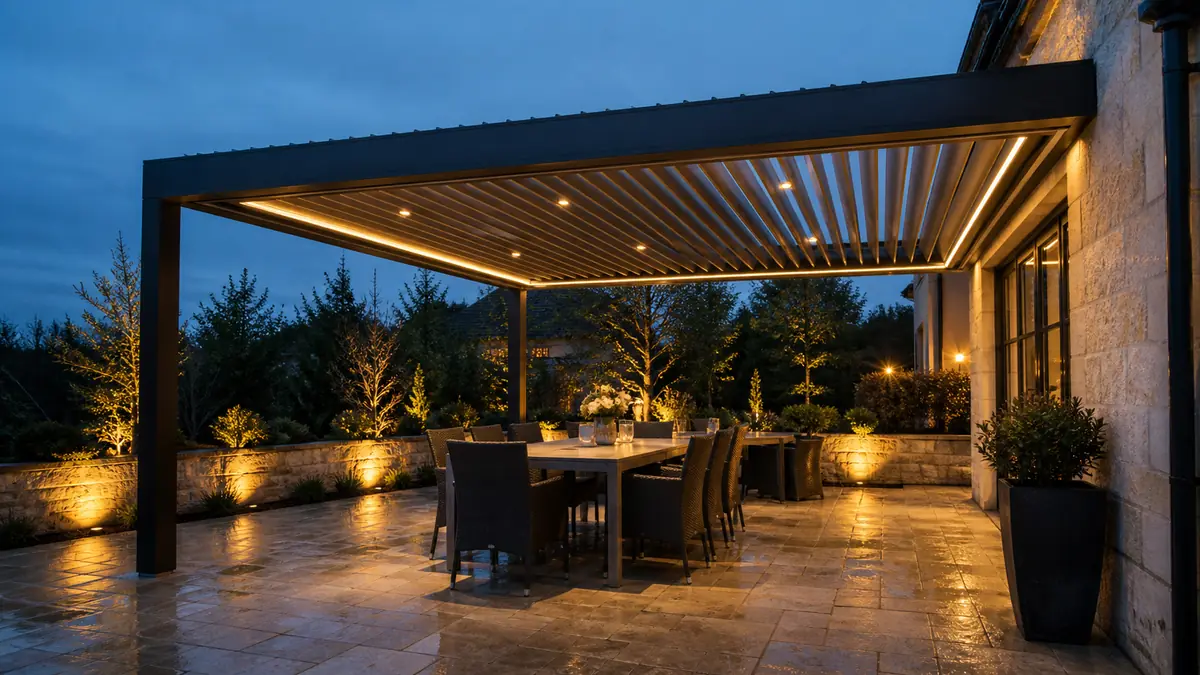
Counting fixtures is an unreliable way to plan an outdoor LED light kit. Ten identical downlights can create a flat, glaring ceiling, while a smaller combination of directional spots, concealed linear light, and low-level step fixtures can make the same space feel deeper and more comfortable.
The first question is not “How many lights fit on this pergola?” It is “What should be visible, what should be usable, and what should remain visually quiet?” Those questions lead to three lighting layers:
- Functional light: illumination for dining, food preparation, circulation, stairs, door thresholds, and changes in level.
- Architectural light: light that reveals beams, louvers, posts, soffits, edges, and the geometry of the structure.
- Landscape or atmosphere light: controlled accents on planting, walls, screens, trees, or the outside face of the pergola.
These layers should not automatically share one switch. They have different brightness requirements, different operating times, and different tolerance for glare. Separating them makes the kit more useful and gives the buyer a clearer value proposition.
A practical fixture mix for pergolas, decks, and patios
The right mix depends on the structure, but a repeatable kit can be organized by function rather than by room name. This helps a product brand standardize SKUs while still allowing installers to configure a project-specific package.
| Lighting function | Preferred fixture type | Typical placement | Planning priority |
|---|---|---|---|
| General downlight | Recessed or surface-mounted mini LED spotlight | Underside of beams, louvers, soffits, or canopy profiles | Beam angle, glare control, spacing, and service access |
| Continuous architectural line | COB LED strip with suitable channel or concealed mounting | Perimeter beams, roof edges, fascia, screens, and handrails | Diffusion, voltage drop, heat management, cut length, and weather protection |
| Step and transition light | Mini LED step or deck light | Risers, stair sides, deck edges, and circulation routes | Low glare, consistent spacing, and safe cable routing |
| Landscape accent | Directional mini spotlight or adjustable accent fixture | Posts, planting, walls, screens, and nearby trees | Aiming, spill control, contrast, and separation from task zones |
| Scene and safety override | Dimmable driver, RF remote, app controller, timer, or sensor interface | Central control location with accessible service point | Zone logic, manual override, pairing, and recovery after power loss |
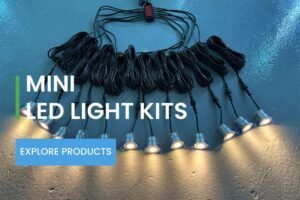
VLED’s mini LED light kit range is structured around this type of packaged approach, with small spotlight sets, step light sets, cabinet-style sets, and strip light solutions. For buyers who need a more specific optical or housing direction, the mini spotlight product range provides a broader starting point for fixture selection.
Mini LED spotlights: the control layer for useful light
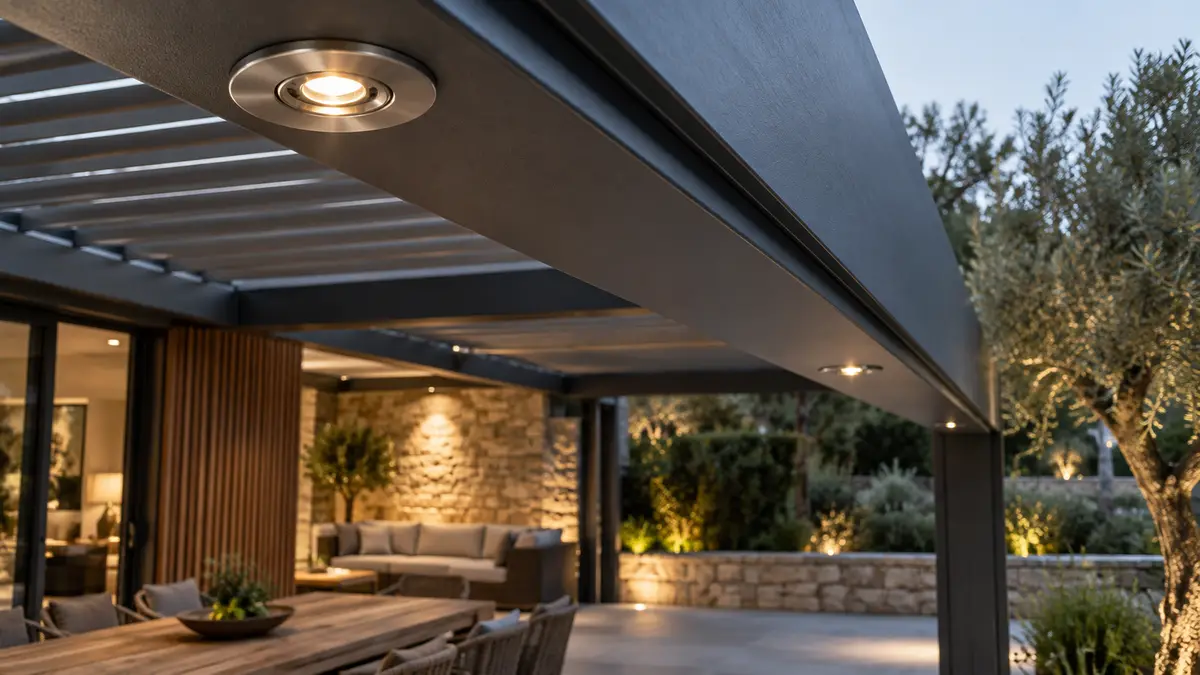
Mini spotlights are often the best choice when the project needs discreet fixtures with a defined target. In a pergola, that target may be a table surface, a bar counter, a built-in kitchen, or a textured wall. On a deck or patio, it may be a step, threshold, post, or circulation point.
The key design decision is not simply wattage. It is the relationship between source position, beam angle, target surface, and the viewer’s sightline. A fixture that looks small on a drawing can still produce discomfort if the light source is visible from a seated position. Conversely, a low-output fixture can be useful when it is correctly aimed at a reflective surface.
When specifying mini spotlights for a repeatable kit, confirm:
- Whether the fixture is recessed, surface-mounted, fixed, or adjustable.
- The available cutout and mounting depth in the pergola profile or deck construction.
- The beam angle and whether the optic matches the target distance.
- The color temperature strategy, especially for projects where the light is visible from nearby homes or natural areas.
- The dimming behavior at low levels, including flicker, minimum output, and controller compatibility.
- The ingress protection of the fixture and the installation conditions around it.
VLED publishes mini spotlight configurations using CREE light sources, 12V or 24V low-voltage options, dimming, IP65-rated models, and adjustable color options including dynamic white, RGB, RGBW, and RGB+CCT on selected products. These capabilities are useful when a brand wants one core mechanical platform with different control and color packages. They should still be validated against the exact project environment and the customer’s local electrical requirements.
COB LED strips: use them to draw the structure, not to flood the room
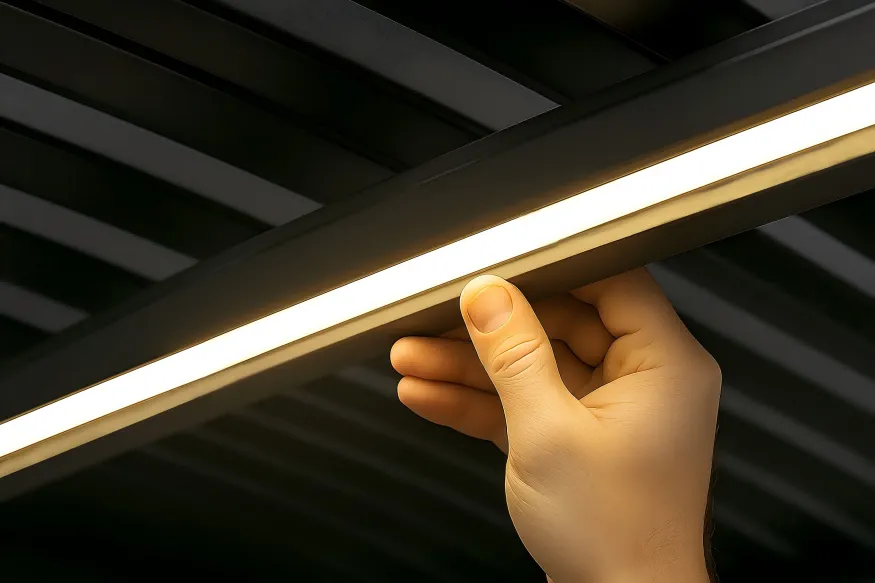
COB LED strips are most effective when their job is to create a continuous line of light or a soft reflected wash. They work well under a pergola perimeter, inside a concealed channel, beneath a handrail, along a fascia, or behind a screen. They are less effective when installed as an exposed substitute for every other fixture.
The design risk is over-lighting. A bright strip around the entire perimeter can make the edge of a pergola visually dominant while leaving the dining surface poorly lit. It can also expose the light source to people approaching from the side. A better approach is to use the strip as a low or medium-output architectural layer, then place dedicated spotlights where the user actually needs visibility.
For kit planning, strip specification should include more than “waterproof LED tape.” Confirm the strip voltage, watts per meter, PCB width, minimum cut length, CRI, color system, channel or heat-spreading method, connector type, end sealing, and driver capacity. VLED’s COB LED strip range lists 12V and 24V options, multiple widths and power levels, CRI options above 90 on selected products, and different cut lengths. Those details directly affect how a kit can be packaged and installed.
For longer runs, 24V is often easier to manage because it can reduce voltage-drop problems compared with an equivalent 12V layout. That is a planning principle, not a universal installation rule. The installer still needs to calculate the run length, load, conductor size, injection points, driver location, and allowable temperature conditions.
Deck and step lights should be planned as a safety and wayfinding layer
Deck lighting is often treated as decorative, but changes in level create a different design responsibility. The fixture should help people read the edge or riser without becoming the brightest object in the scene.
For stairs and transitions, avoid placing fixtures where a seated or walking viewer looks directly into the LED source. Recessed or shielded formats are usually easier to control than exposed points. Keep spacing consistent enough to communicate the geometry, but do not assume that more fixtures automatically improve safety. Excessive brightness and uneven contrast can make adjacent surfaces harder to read.
Separate step and edge fixtures from the main pergola downlight zone. This allows a project to keep wayfinding light on at a lower level after dining or entertaining has ended. It also gives a distributor a more logical product bundle: a pergola overhead package, a deck transition package, and an optional landscape accent package.
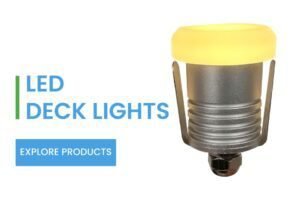
VLED’s LED step light information covers outdoor-oriented 24V, IP65, dimmable products with different beam and cutout options. When adapting these products for a kit, document the installation surface, drilling template, cable exit, connector, and replacement method. A kit that cannot be serviced without removing a large section of decking will create avoidable after-sales problems.
Control planning: build scenes around use, not features
“Smart control” is not a lighting strategy. It is a method of delivering a strategy. The useful question is what the customer needs to turn on, dim, schedule, or change independently.
A practical outdoor kit usually starts with three or four control zones:
- Task zone: spotlights over the dining table, bar, grill, or work surface.
- Structure zone: concealed strip or selected spotlights that reveal the pergola or patio architecture.
- Path and step zone: deck, stair, threshold, and circulation fixtures.
- Accent zone: landscape, wall, planting, or screen light outside the main seating area.
From those zones, create a small number of scenes that people can understand without a manual:
- Arrival: path and threshold light at a useful level, with structure light kept restrained.
- Dining: task light active, architecture softly dimmed, accents balanced against the table.
- Relax: task light reduced, structure and landscape accents at a lower level.
- Clean-up: task and path zones temporarily raised for a practical period.
- Late night: step and threshold light maintained at a low level, other zones off or scheduled down.
RF remote controls are useful when a project needs straightforward local operation without depending on a customer’s home network. App or Wi-Fi control can add grouping, scheduling, voice integration, or music synchronization, but it also introduces pairing, network, privacy, and support questions. For a product brand, offering both a simple local control path and an optional smart layer can reduce installation friction.
The U.S. Department of Energy’s guidance on energy-efficient exterior lighting notes that networked controls can help outdoor luminaires adapt to conditions and activity. Its exterior lighting control guidance also explains the value of zoning, scheduled dimming, and remote reprogramming. The practical implication for pergola kits is clear: specify dimming and control compatibility before the installer has already committed to the wiring.
Color temperature, glare, and the view from outside the project
A pergola should feel comfortable from inside the seating zone and from the neighboring garden, house, or street. That second viewpoint is often missed in product planning.
Warm white is a common starting point for residential outdoor environments, but a professional specification should go beyond a single “warm” label. Document the available CCT range, the behavior of tunable white products, the relationship between CCT and dimming, and whether RGB modes are optional rather than the default presentation.
The DarkSky International Five Principles for Responsible Outdoor Lighting, developed with the Illuminating Engineering Society, frame outdoor light around being useful, targeted, low level, controlled, and warm-colored. Those principles are directly applicable to pergola, deck, and patio kits: aim light at the intended surface, keep output no higher than needed, dim or turn off unused zones, and reduce glare and spill.
This is also a commercial advantage. A kit that manages glare and light trespass is easier for landscape professionals to specify in high-end residential, hospitality, and multi-unit projects. It supports a design conversation based on comfort and control instead of a simple race to the highest lumen number.
Power and wiring: size the system after the fixture mix
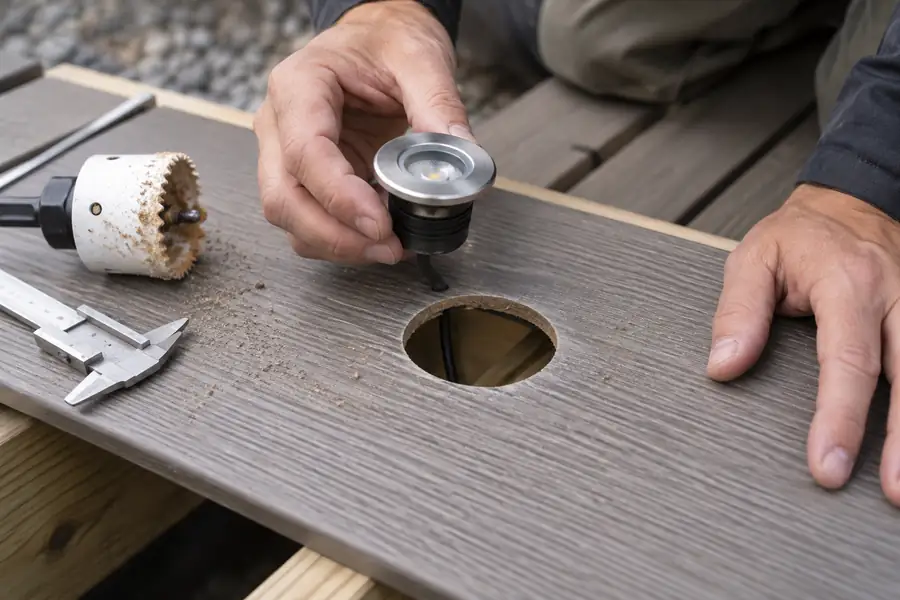
Power planning should begin after the lighting layers and zones are defined. Otherwise, the kit may contain a driver that is technically large enough but poorly matched to the actual cable layout, control method, or future expansion.
For each zone, record the fixture quantity, input voltage, wattage, cable length, connector count, expected simultaneous load, and control interface. For LED strips, calculate the load from the actual installed length rather than the reel length. Leave a documented margin for reliable operation, but do not treat a large oversized driver as a substitute for correct voltage-drop and thermal calculations.
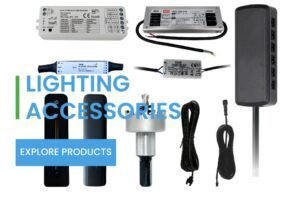
Outdoor suitability is a system property. An IP65 spotlight does not make an indoor-rated controller, connector, junction box, or power supply suitable for an exposed location. Place drivers and control boxes in dry, accessible areas, protect cable transitions, use the correct enclosure and strain relief, and have the final installation checked by a qualified professional in accordance with local code.
The kit documentation should include a wiring diagram that shows:
- Input power and low-voltage output.
- Driver capacity and zone allocation.
- Polarity or data direction where relevant.
- Maximum recommended run length and any injection points.
- Controller pairing or addressing instructions.
- Replacement part numbers and a basic troubleshooting path.
How brands and wholesalers can turn the plan into sellable SKUs
For a lighting brand or importer, the most useful kit is not the one with the most options. It is the one that makes specification, quoting, installation, and replenishment predictable.
A practical product architecture might include:
- Core overhead kit: mini spotlights, driver, dimmer, cable, connectors, drilling template, and a local control option.
- Architectural add-on: COB LED strip, channel or mounting method, strip connectors, and a dedicated dimmable output.
- Deck transition add-on: step or deck fixtures with cable extensions, junction components, and a separate zone.
- Smart control upgrade: app or Wi-Fi controller, RF fallback where appropriate, scene configuration, and pairing instructions.
- Project customization pack: alternate CCT, RGBW or RGB+CCT, different cutouts, cable lengths, finishes, labels, and packaging.
This structure lets a distributor sell a clear base package while preserving room for project-specific upgrades. It also helps an OEM customer maintain a consistent brand experience across pergolas, awnings, patios, and landscape products.
VLED describes its work as focused on R&D and manufacturing of small LED spotlights, mini downlights, and LED kits, with OEM/ODM and NDA support for global lighting brands. The company’s factory and design information is relevant when a buyer needs custom housing, control, packaging, or kit development rather than an off-the-shelf lamp. For a project discussion, use the VLED contact page to provide the application, fixture mix, voltage, control preference, and estimated volume.
A commissioning checklist for project teams
Before a kit is approved for production or installation, review the complete system at night. Product samples on a workbench cannot reveal every glare, shadow, reflection, or control issue that appears in a finished pergola or deck.
- Confirm that the fixture positions match the intended furniture and circulation layout.
- Check seated and standing sightlines for visible LED points and unwanted glare.
- Test each zone independently before testing scenes.
- Dim every zone to its lowest useful level and look for flicker or unstable output.
- Test a power interruption and confirm how the controller and fixtures recover.
- Verify that drivers, connectors, and control boxes remain accessible for service.
- Record final settings, controller pairing, cable routes, and replacement parts.
- Review the project from the property boundary to identify spill or nuisance light.
This last review is especially important for premium outdoor projects. A successful installation should make the space more usable without making the surrounding property feel over-lit.
Final planning principle
Design the light kit as a small lighting system, not as a collection of products. Mini spotlights provide precision. COB LED strips provide continuity. Step and deck lights provide orientation. Controls determine whether those layers remain useful after the first installation night.
When fixture mix, power, zoning, and service access are decided together, a pergola or patio kit becomes easier to specify, easier to install, and easier for a customer to live with.
Build a more reliable outdoor LED kit with VLED
VLED works with lighting brands, pergola and outdoor-living manufacturers, importers, wholesalers, and engineering teams that need mini LED spotlights or complete kit solutions. Share your structure type, target market, fixture layout, voltage, control requirements, and expected quantity so the product team can evaluate the right mix of spotlights, strips, step lights, drivers, and accessories.
Start with the VLED mini LED spotlight manufacturing platform, review the relevant light kit options, and contact the team when your project requires OEM/ODM development, custom control logic, or a packaged outdoor lighting solution.
Send Us Your Request