




For an OEM buyer, the most expensive outdoor lighting failure is rarely the cost of one LED fixture. It is the cost of a mixed system: a spotlight that needs a different voltage, a strip that overloads the driver, a splitter with the wrong connector, or a cable joint that survives factory testing but not a wet installation.
That is why the bill of materials should be designed before the product catalogue. The BOM defines the electrical architecture, the user experience, the installer’s workflow, the number of spare parts you must stock, and the number of ways a customer can connect the system incorrectly.
In this guide, VLED approaches the problem from a mini LED spotlight and outdoor lighting manufacturing perspective. The objective is practical: decide what belongs in the kit, what must be standardized, what should remain configurable, and which checks are necessary before an OEM launch.
The OEM BOM should describe a lighting system, not only its products
A product list answers “what is in the carton?” A system BOM answers the questions that determine whether the carton works: How is power distributed? Which loads can share a controller? Where are the outdoor connections located? Which part is replaceable? What does the installer need to drill, extend, seal, or troubleshoot?
Top-ranking consumer guides commonly explain low-voltage cable routing, transformer sizing, fixture placement, and waterproof connections. Those are useful foundations. For a professional OEM program, the specification must go one level deeper and connect every field action to a defined part number and approved interface. The Home Depot landscape lighting guide, for example, distinguishes the transformer, cable, fixtures, and connection methods; an OEM BOM should turn those functional categories into controlled SKUs and test criteria.
Core position: the best OEM outdoor lighting kit is not the one with the most features. It is the one with the fewest uncontrolled combinations while still covering the target applications.
Recommended BOM structure for an outdoor lighting kit
Organize the BOM by function and interface. This makes it easier for purchasing, engineering, assembly, quality, and customer support to work from the same document.
| BOM group | Typical contents | Specification that must be frozen |
|---|---|---|
| Light sources | Mini spotlights, deck or step lights, COB LED strips | Voltage, wattage, CCT or colour mode, CRI, beam distribution, cutout, housing, environmental rating |
| Power | Outdoor power supply, LED driver, dimmer, controller, receiver | Input range, output voltage, rated load, dimming protocol, enclosure, plug or terminal format |
| Distribution | Splitters, junctions, branch harnesses, extension cables | Connector family, polarity, cable gauge, length, branch count, sealing method |
| Installation | Mounting rings, spring clips, stakes, profiles, hole saws, screws | Cutout tolerance, substrate, tool size, corrosion resistance, replacement availability |
| Delivery and support | Labels, wiring diagram, installation guide, spare parts, packaging | Language, circuit diagram, QR or document reference, kit revision, warranty traceability |
Keep a separate “approved combinations” sheet beside the BOM. It should show which driver can power which fixture family, how many lights are allowed on a splitter, the maximum strip length per feed, and whether a controller supports single-colour, tunable white, RGB, or RGBW products. This sheet is often more valuable to a distributor than another page of product marketing.
1. Mini LED spotlights: define the optical role before the wattage
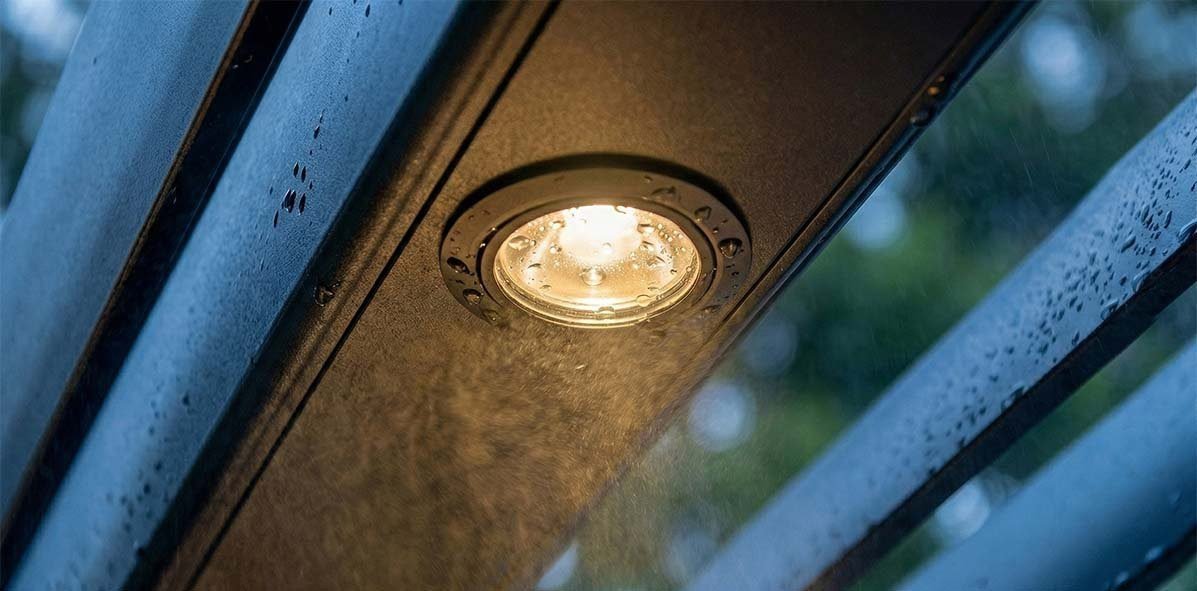
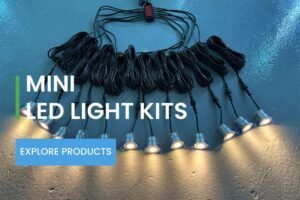
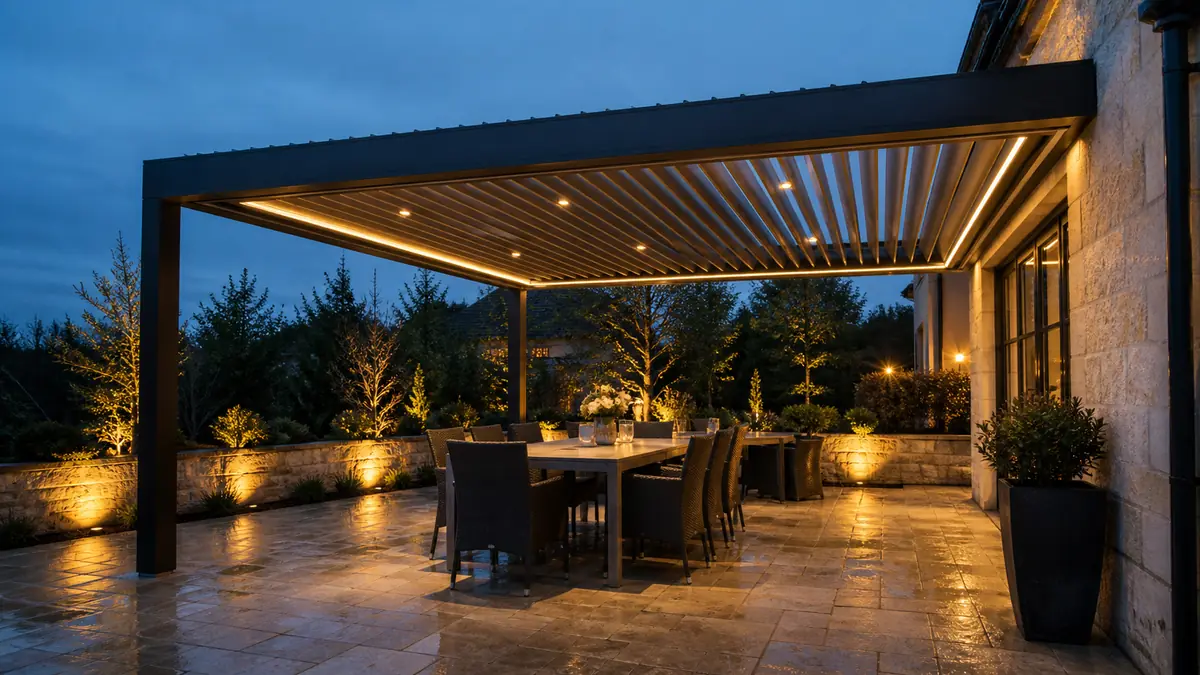
Mini spotlights are usually the focal or task-lighting element in a pergola, veranda, soffit, canopy, deck, or landscape system. Their value is not simply that they are small. A small aperture can preserve the visual language of a structure, while the beam and aiming method determine whether the result feels refined or harsh.
For the spotlight line in the BOM, freeze these parameters:
- Light source and binning policy, including the acceptable CCT range and colour consistency between batches.
- Nominal wattage and operating voltage. VLED’s outdoor mini spotlight range includes low-voltage DC options such as 12V and 24V, but the selected system voltage must match the driver, controller, cable, and connector architecture.
- Beam angle, lens type, glare control, and whether the fitting is fixed, recessed, or tiltable.
- Cutout diameter and depth. A change of only a few millimetres can make a luminaire incompatible with an aluminium pergola profile or deck board.
- Ingress protection requirement for the actual installation location, not merely the catalogue headline.
- Connector position, cable exit, cable length, and whether the unit is serviceable without removing surrounding structure.
For brand owners that need a ready platform, the VLED mini LED spotlight range provides a starting point across compact recessed and adjustable formats. The DAISY product page also illustrates an important OEM principle: a luminaire should be documented together with its related power supply, mini driver, remote controller, splitter, extension cable, and hole saw rather than treated as an isolated item.
Do not select a spotlight only by lumens. In an outdoor kit, beam control, cutout repeatability, glare, connector access, and colour consistency often affect the customer’s perception more than a small difference in output. A project contractor can forgive a conservative lumen target; they will struggle with inconsistent holes, visible glare, or fixtures that cannot be replaced without opening the structure.
2. Deck and step lights: treat installation geometry as a product feature
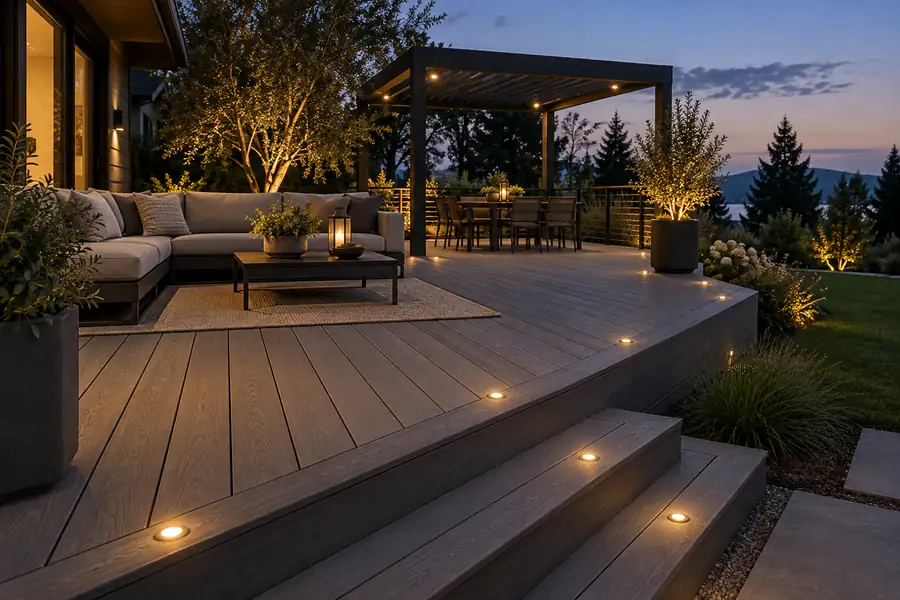
Deck lights and step lights are installed into timber, composite boards, stairs, risers, railings, and hardscape details. The correct BOM therefore includes more than the lamp. It includes the hole, the retaining method, the cable route, and the service path.
A deck-light specification should identify the exact cutout, fixture depth, surface flange, spring or screw retention, allowable substrate thickness, and cable bend radius. It should also explain whether the light is intended for a dry protected cavity, a splash-exposed step, or a location where water can collect. “Outdoor” is not a sufficient installation instruction.
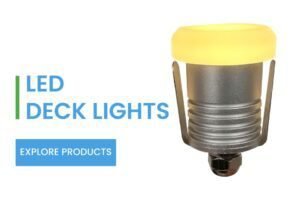
VLED’s LED deck light category covers compact step and deck-oriented products with low-voltage options, dimming, and different beam patterns. For a private-label program, the useful question is not which model looks best in a catalogue. It is which model shares the same voltage, connector family, cutout logic, and control method as the spotlight and strip-light families already in the range.
Build a physical installation sample into the development process. Test the light in the actual profile, board, or stair material, then check the cable exit after the surface is closed. A fixture that passes a bench test can become difficult to install when the installer has only one hand behind a deck board and limited access to the connector.
3. COB LED strip lights: specify the run, feed, and environment
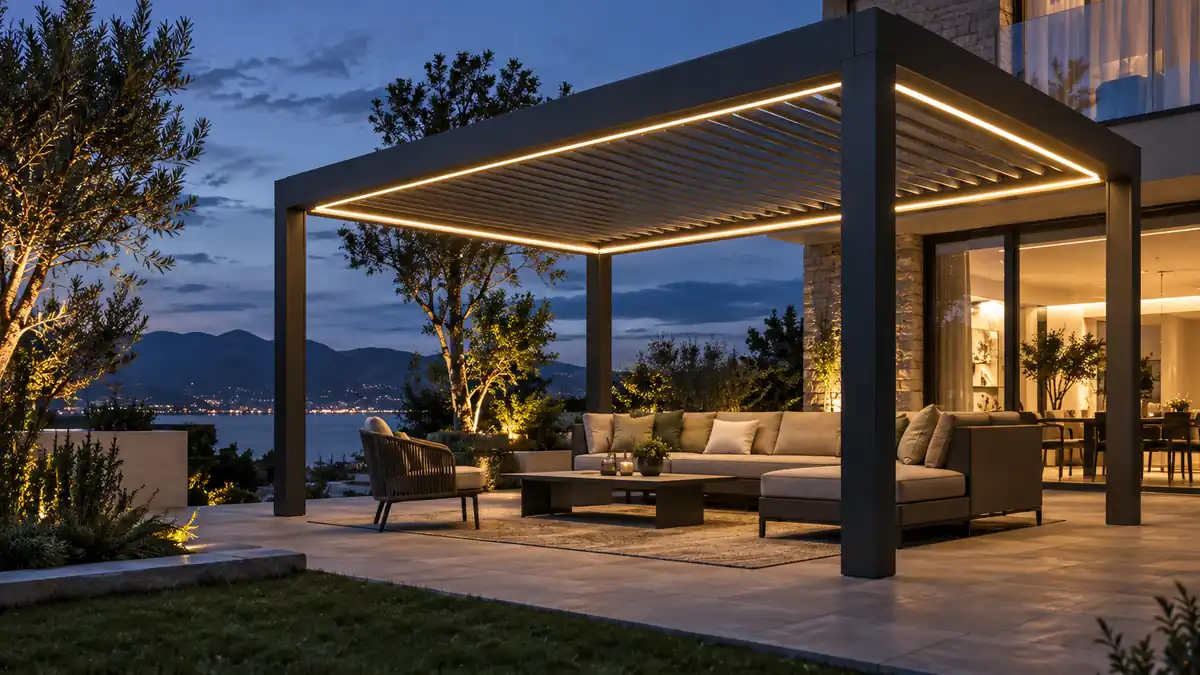
Strip lighting provides continuous or linear accent light along pergola beams, roof louvers, handrails, steps, wall edges, and landscape structures. It is also the part of the BOM most likely to be oversimplified. “One roll of outdoor LED strip” does not define a reliable system.
The BOM should state strip voltage, power per metre, LED density, PCB width, cut increment, colour mode, CRI, bending direction, adhesive or mounting method, end treatment, and the maximum supported run for each feed arrangement. It should also distinguish the strip itself from the aluminium profile, diffuser, end cap, injection seal, lead cable, and connector.
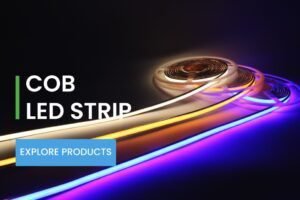
VLED’s COB LED strip range shows why these details matter: available products can differ in voltage, width, LED density, power per metre, and colour rendering. A narrow strip may fit a small pergola channel but require a different profile and connector than a higher-power strip. Those are BOM decisions, not after-sales accessories.
For outdoor use, define how the strip ends are sealed and how heat is managed. A waterproof label on the roll does not automatically make every cut, joint, and end outdoor-ready. If the installer cuts the strip on site, the kit needs a documented field-sealing method and compatible replacement parts. If the strip is factory cut to length, the BOM should include a revision-controlled length schedule and a clear connector map.
Plan power injection deliberately. Long low-voltage runs can experience voltage drop, uneven brightness, colour shift, or driver overload. The solution may be a shorter branch, a larger conductor, parallel feeds, a higher system voltage, or a different driver architecture. Do not solve a layout problem by quietly increasing the power supply; the cable, connector, controller, and strip must all be rated for the revised load.
4. Drivers and power supplies: choose the electrical architecture first
The driver is the heart of the kit. It converts incoming power into the voltage and control behaviour the luminaires expect. In an OEM program, a driver mismatch can create flicker, failed dimming, nuisance shutdowns, shortened LED life, or an installation that works only with one brand of controller.
Start with a load map. Record each fixture’s rated input, quantity, simultaneous operating condition, control mode, cable length, and ambient installation condition. Then specify the driver with appropriate capacity, input range, output voltage, dimming compatibility, protection features, enclosure, and connector or terminal arrangement. Keep the calculation visible in the BOM revision history so future product additions do not accidentally exceed the original architecture.
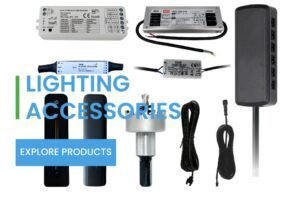
VLED’s accessory information includes outdoor-oriented power-supply options such as 12V and 24V outputs, dimmable formats, and IP-rated enclosures. For procurement, the relevant pages are the VLED accessories range and the individual product documentation supplied with the selected driver. Confirm the final certification and market requirements for the destination country before production; a supplier’s general website description is not a substitute for the applicable test report or approval.
12V and 24V are both common low-voltage choices, but neither is universally better. A 24V architecture can be useful for reducing current at a given power level and simplifying some longer low-voltage runs. A 12V architecture may align better with an existing landscape-lighting ecosystem or customer expectation. The correct decision depends on the whole kit and the destination market, not on one component.
Separate three items that are often confused:
- The power supply or transformer that receives the mains input and provides low-voltage power.
- The LED driver or mini driver used to regulate and control an individual luminaire or defined group.
- The controller or receiver that changes brightness, colour, schedule, or scene behaviour.
When these functions are combined, document the boundaries anyway. It makes troubleshooting faster and allows the brand to offer a basic kit, a remote-controlled kit, and a smart kit without redesigning every fixture.
5. Connectors, splitters, and cables: design for the installer’s worst day
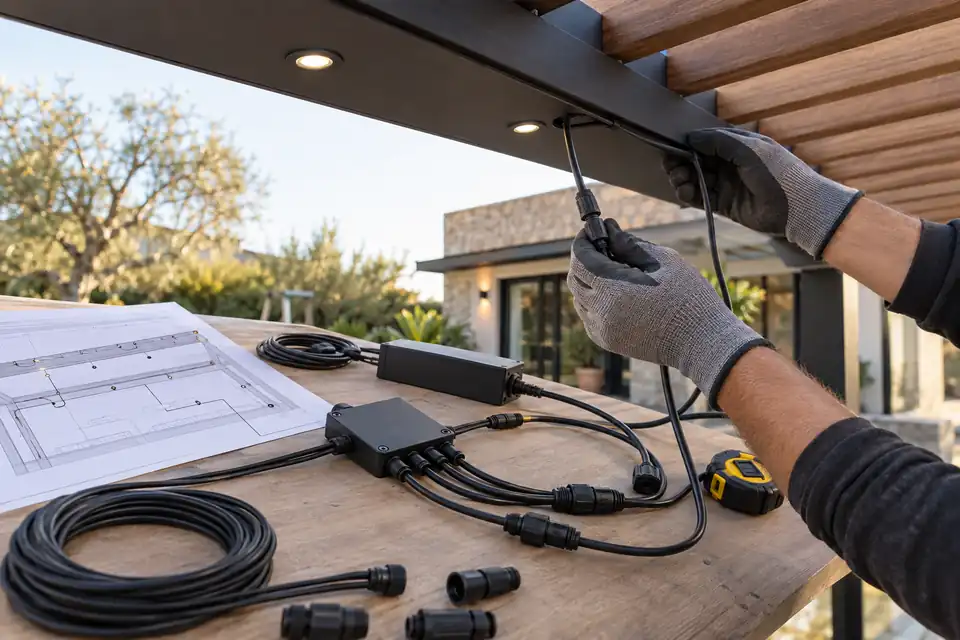
Outdoor connectors fail in the field for predictable reasons: water ingress, corrosion, poor strain relief, polarity reversal, insufficient conductor area, connector mismatch, or a joint positioned where water collects. A good connector BOM prevents those failure modes before they reach the installer.
Specify the connector family as a mated system. Include gender, pin count, keying, contact material, sealing method, cable jacket, current rating, voltage rating, temperature range, and field-replacement method. If the same connector is used on a spotlight, deck light, strip harness, and splitter, verify that it is appropriate for every location rather than assuming interchangeability.
Splitters are especially useful in kit design because they make parallel distribution easier to understand and can reduce improvised field splices. VLED offers six-way and twelve-way splitter formats in its accessory range, along with extension cables in multiple lengths. Those parts can be packaged as a controlled harness system, but the BOM should still define the maximum load per branch and the approved cable topology.
The This Old House low-voltage installation guide emphasizes careful connections and waterproofing, while Signify’s deck-light installation sheet demonstrates how a fixture connector, supply cable, and power console are treated as one installation system. For an OEM kit, convert that principle into a wiring diagram that uses your exact connector names and part numbers.
Give the installer enough slack at every fixture and branch. The exact amount depends on the application and local installation practice, but the design principle is stable: a connector that is pulled tight during installation has no tolerance for adjustment, maintenance, or thermal movement. Include cable length options in the BOM rather than expecting the installer to extend every run on site.
A practical approved-kit architecture
For many pergola and landscape programs, a modular architecture is easier to sell and support than a single oversized kit. A practical structure may look like this:
| Module | Purpose | OEM control point |
|---|---|---|
| Fixture module | Spotlights, deck lights, or strip-light sections | Common voltage and connector interface |
| Power module | Driver or outdoor power supply | Capacity and destination-market plug or terminal |
| Control module | Wall switch, RF remote, app, timer, or sensor | Protocol, pairing, reset, and fallback behaviour |
| Distribution module | Splitters, branch harnesses, and extension leads | Polarity, branch count, cable length, sealing |
| Installation module | Profiles, clips, hole saws, labels, and instructions | Application-specific fit and serviceability |
This modularity supports different channels. A pergola manufacturer may buy a preconfigured spotlight-and-strip kit. A landscape wholesaler may need individual fixtures and extension cables. An importer may want the same hardware under a private label with different packaging and a different control option. A controlled interface lets the factory serve those channels without creating an unmanageable number of electrical combinations.
Quality checks that should happen before mass production
Sample approval should test the system in the conditions that expose integration problems. A fixture-by-fixture inspection is not enough.
Electrical and control validation
- Verify input and output voltage under normal and maximum load.
- Test dimming from minimum to maximum with every supported controller.
- Check startup behaviour, reset behaviour, pairing, and loss-of-signal behaviour.
- Measure brightness consistency across the longest approved cable run and the first and last fixture.
- Confirm polarity, connector keying, and branch loading against the wiring diagram.
Mechanical and environmental validation
- Install the lights in representative pergola profiles, deck boards, stair materials, or landscape housings.
- Inspect cable exits, bend radius, strain relief, and access for replacement.
- Test the assembled joints and enclosures according to the applicable product and market requirements.
- Check heat dissipation for strip lights and drivers in the intended mounting condition.
- Review corrosion-sensitive materials, fasteners, seals, and exposed finishes.
Packaging and documentation validation
- Confirm every carton contains the correct quantity, connector gender, cable length, and mounting hardware.
- Use a diagram that shows the actual kit topology, including unused ports and maximum quantities.
- Label every harness and driver with a part number and revision.
- Include replacement instructions for the parts most likely to be damaged during installation.
For deeper manufacturing context, see the VLED factory and R&D overview. The relevant capability for an OEM buyer is not a generic claim of customization; it is the ability to carry a design from optical and mechanical development through sample iteration, component matching, production, and documentation.
Common BOM mistakes that create avoidable field costs
Mixing 12V and 24V parts under one “low-voltage” label. Low voltage is a category, not a compatibility guarantee. Put the operating voltage in the product code, carton label, wiring diagram, and purchase order.
Buying the driver separately from the fixture. This creates a support gap. The kit should identify the approved driver, maximum load, control method, and replacement path for every luminaire family.
Assuming an IP rating covers the whole assembly. The weakest exposed joint controls the practical result. Review the fixture, cable, connector, splitter, driver housing, strip end, and installation position as one chain.
Over-customizing the first launch. Different connector families, voltages, controls, and cable types may make the catalogue look broad, but they increase inventory and installer error. Start with a small platform that covers the highest-value applications, then add variants only when the interface remains stable.
Ignoring service parts. A replacement connector, driver, extension lead, or strip section can save a project visit. Add service SKUs and packaging instructions at the same time as the original kit.
How to turn the BOM into an OEM product platform
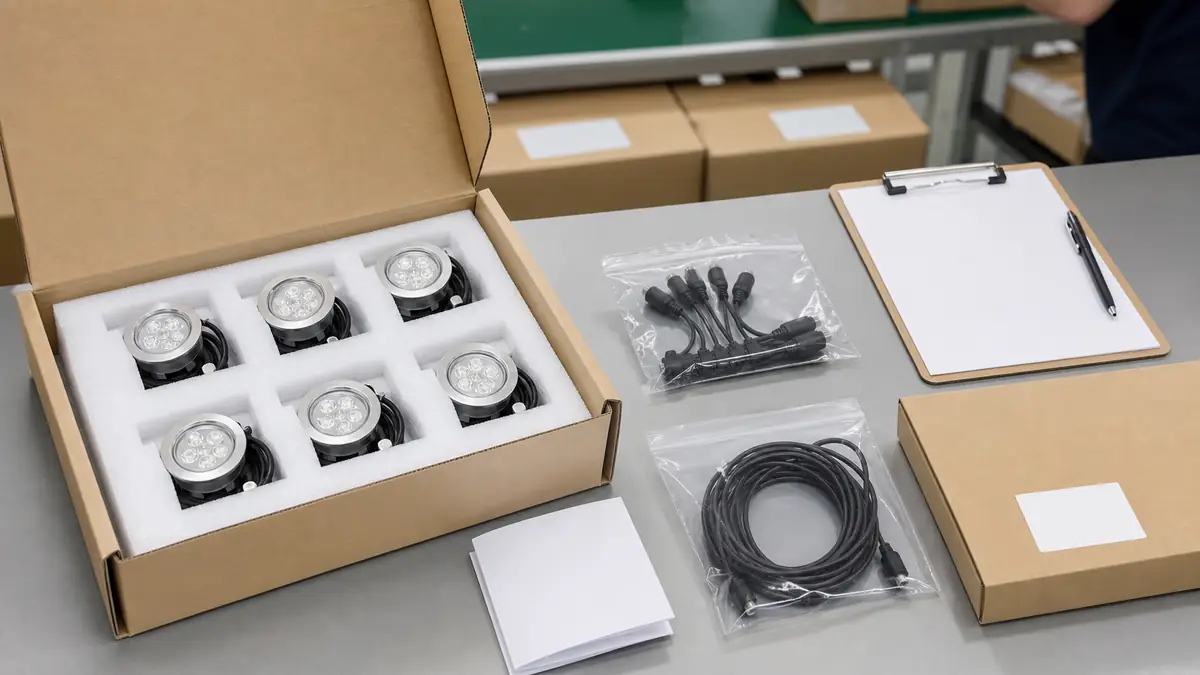
Once the first kit is validated, use the BOM as the backbone of a product platform. Keep the common interfaces stable and vary only what the market truly needs: fixture style, beam angle, CCT, control option, cable length, or packaging.
For a pergola lighting brand, that may mean a 24V platform with mini spotlights in the beams, deck lights at the steps, and COB strip in the roof perimeter. For a landscape brand, the priority may be weather-resistant spotlights, step lights, longer extension cables, and a distribution harness. For an importer, the best starting point may be a small number of private-label kits with clear approved combinations and an attractive spare-parts programme.
VLED’s mini LED light kit platform is designed around this type of system thinking: fixture sets, power, control, splitters, extensions, and installation accessories are specified together. For pergola-focused programmes, the related pergola lighting systems site provides another application context for combining spotlights, strip light, remote control, and weather-aware outdoor use.
The commercial advantage is straightforward. A coherent platform shortens quoting, reduces engineering rework, gives installers a repeatable method, and makes it easier for a brand to launch a new appearance without rebuilding the electrical system from scratch.
Frequently asked questions
What should be included in an OEM outdoor lighting kit BOM?
Include the luminaires, LED source and optics, drivers or power supplies, controllers, splitters, extension cables, connectors, mounting hardware, installation tools, packaging, labels, and documentation. The BOM should also state voltage, wattage, connector gender, cable length, IP requirement, dimming method, and approved combinations.
Should outdoor OEM lighting use 12V or 24V?
Both can be valid. Select the voltage after reviewing fixture wattage, total run length, voltage drop, controller compatibility, safety requirements, and the products already used by the target market. A single standardized voltage across spotlights, deck lights, strips, and controls usually simplifies inventory and support.
Are IP-rated fixtures enough for an outdoor lighting kit?
No. The complete assembly must be considered. A weather-resistant luminaire can still fail if a cable joint, splitter, driver enclosure, or strip-light end cap is not suitable for its location. Define the environmental requirement for every exposed component and verify the installation method.
How can an OEM reduce outdoor lighting installation problems?
Reduce combinations, use keyed connectors, document approved wiring topologies, test every kit as a system, provide enough cable slack, label each component, and validate dimming and control behaviour before mass production. A system-level BOM prevents many field issues that component-level inspection misses.
Build the BOM around your application
If you are developing a private-label outdoor lighting kit, send the target application, fixture quantity, voltage preference, control method, profile or deck cutout, cable lengths, and destination market. VLED can help match mini spotlights, deck lights, COB LED strips, drivers, splitters, connectors, and installation accessories into a documented OEM system.
Contact VLED for an OEM lighting consultation or review the full mini LED spotlight manufacturing range.
Send Us Your Request